
This in the alternative binding to mitred corners, straight corners.
- You cannot add "When Bad Things Happen to Good Quilters - Joan Ford" to the cart because the product is out of stock.
Description
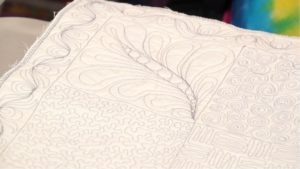
Layer, quilt and BIND …
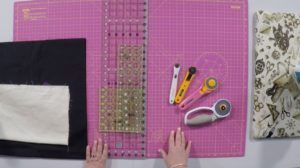
.. the final little four letter word on all projects! You need to remember to sew the binding on with the use of your walking foot. This is essential to avoid the layers shifting. Also, remember that your walking foot often sews a slightly wider than ¼” seam. You will need to take it into account when cutting the width of your binding.
Do sew the binding on before you trim your project back, i.e. the wadding and backing should still be bigger than your quilt. This way everything is much more stable.
Once the binding is sewn into place you can trim back. Sew opposite sides of your project, finish them as per the workshop video, and then sew the final two sides of binding into place, again, trimming back the wadding and backing, and then finish off the binding.
The little trick on the corners will give you the perfect finish.
Mitred Corner Option
If you would like to see how to do mitred corners on your project, which look very professional, you can watch the video and see how easy it is by clicking here.
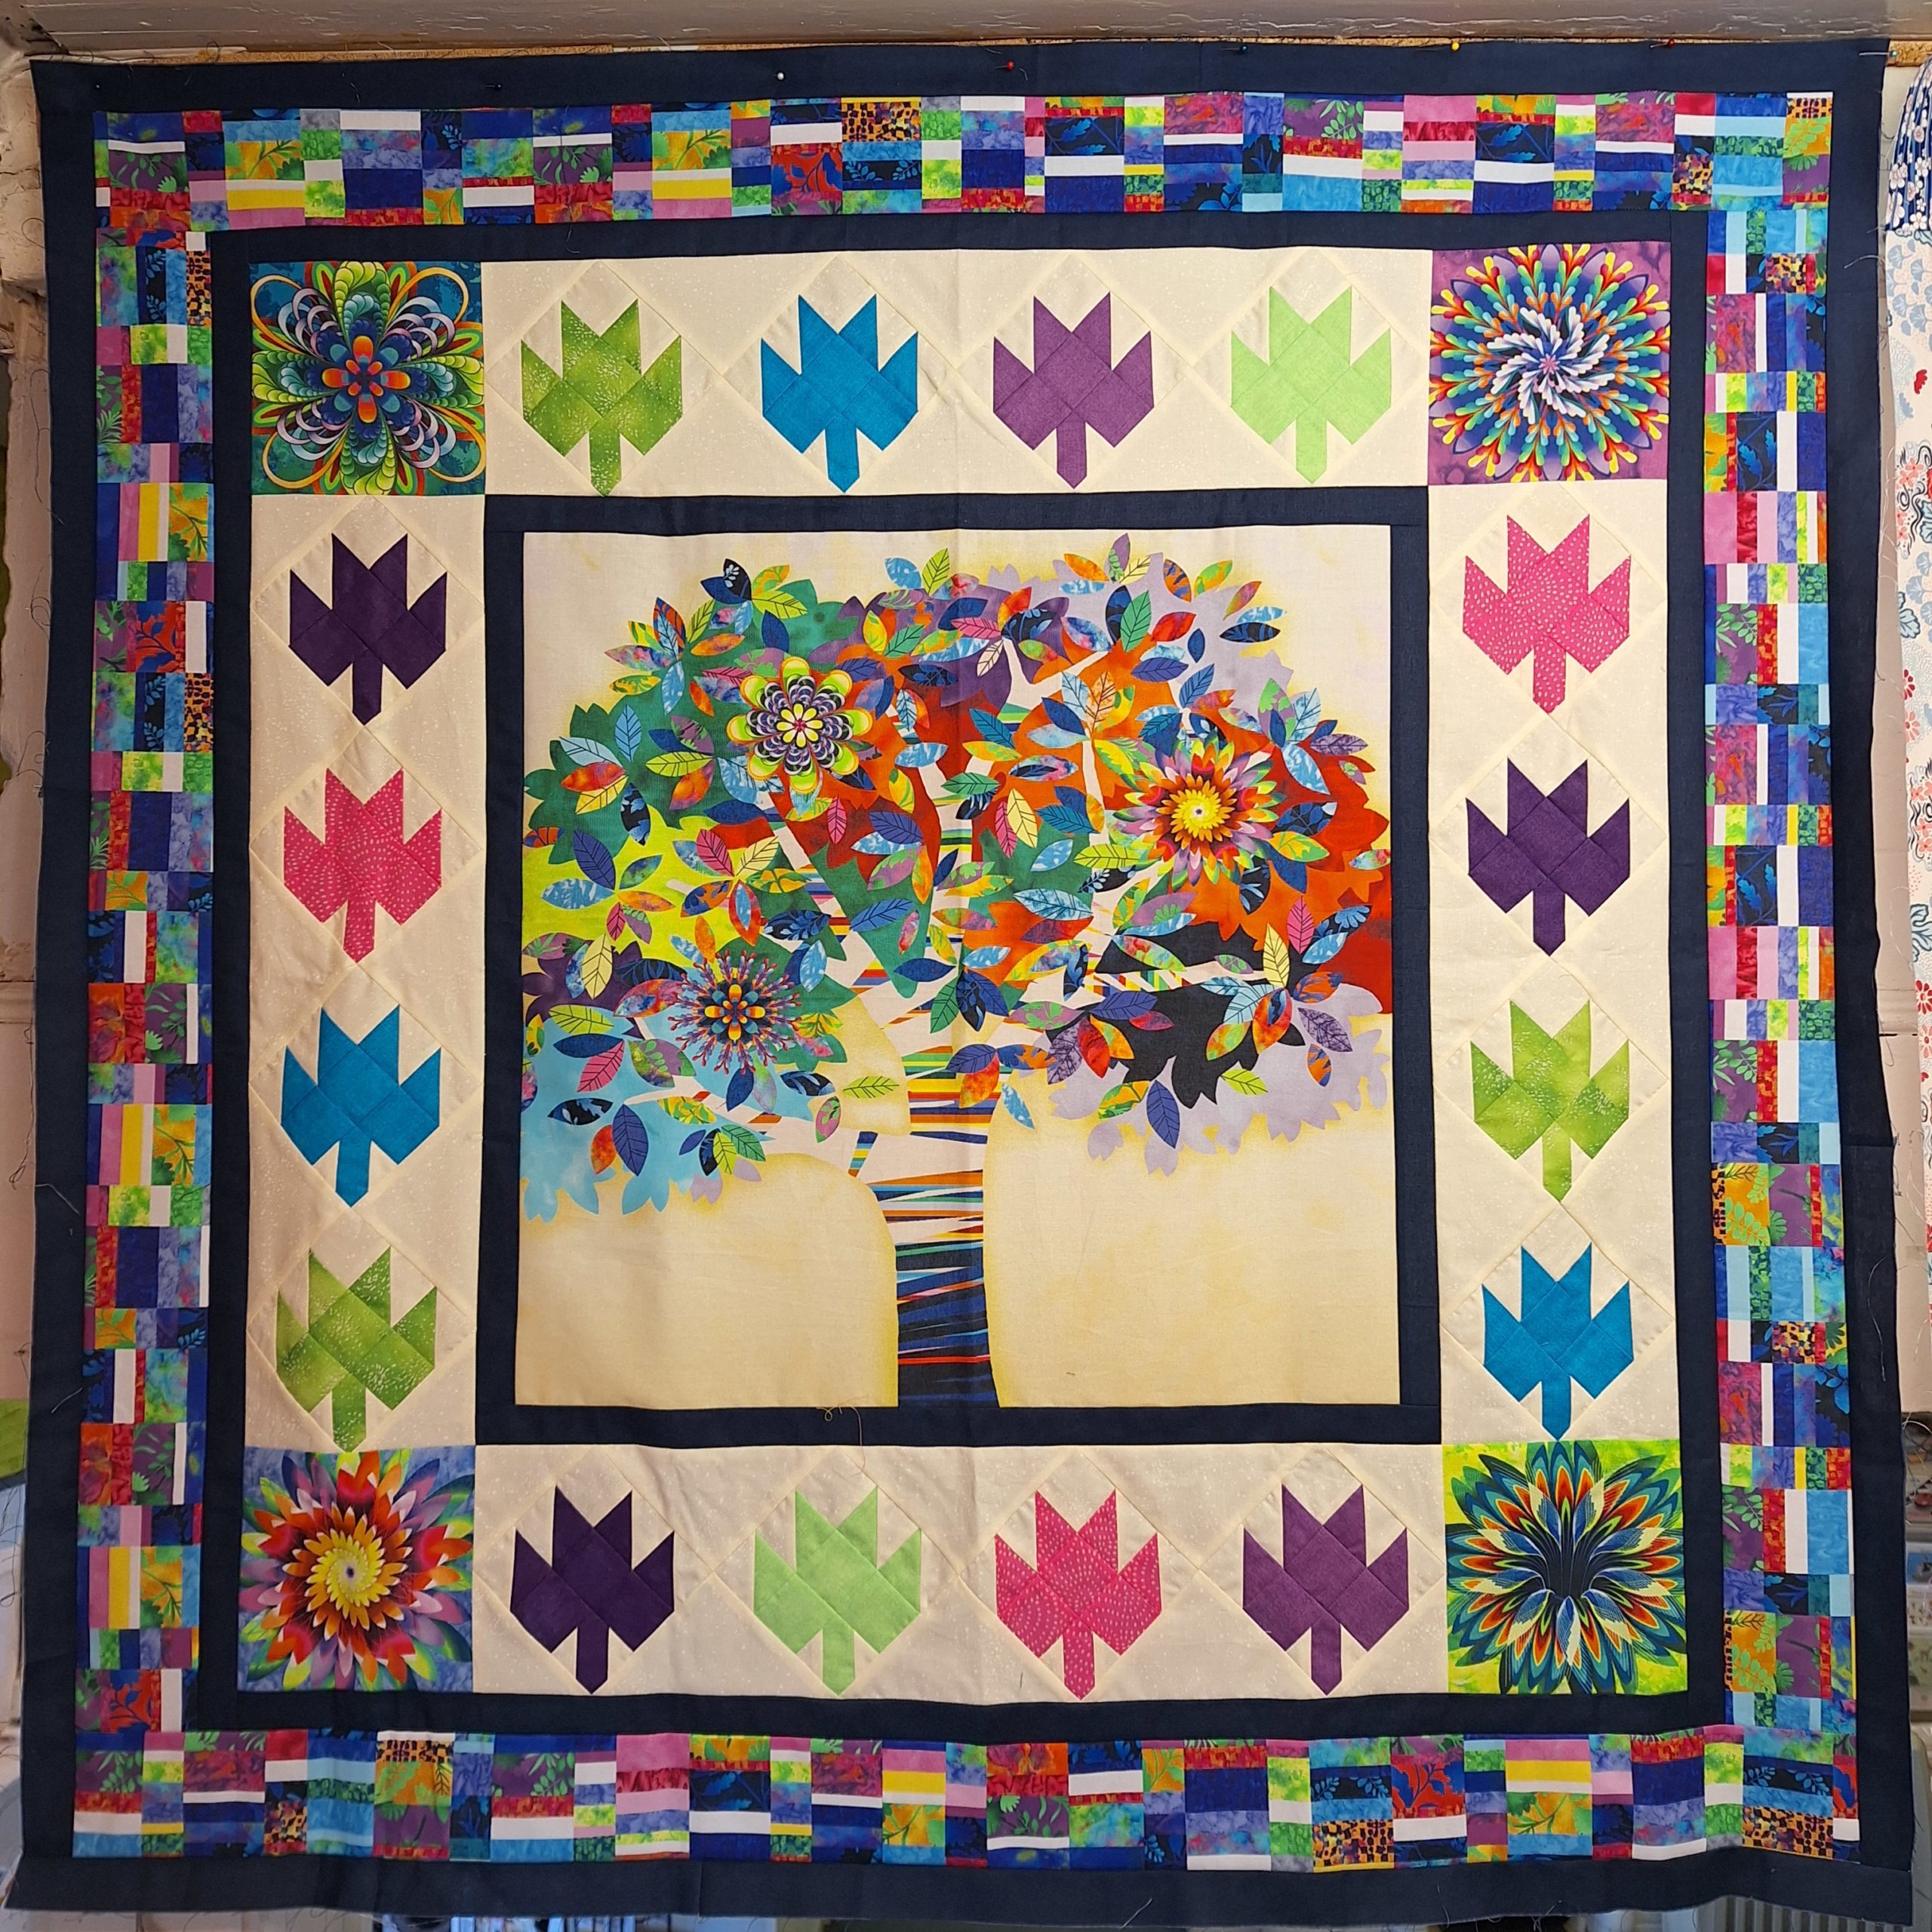
Quick Stripey Quilt in the background.
Featured in this video
Quick Links
beginners quilting | binding | classes with Valerie Nesbitt | quilt | quilting | quilting tutorial | quilting video tutorial | tutorial with Valerie Nesbitt | Valerie Nesbitt(You can use Quick Links, which are also on the left hand side of most pages, to find more content on specfic themes.)
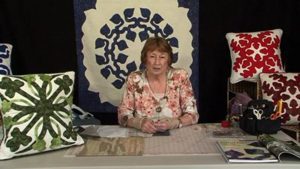
About the Tutor

Valerie is the founder and Creative Director of justhands-on.tv , as well as our very own ‘Queen of Scrap’. She founded Creative Quilting, a quilt shop in Hampton Court, where she still teaches to this day.


Reviews
There are no reviews yet.