Rotary cutting Basics by Sarah Ashford
A beginner’s guide to sizes, types, techniques, troubleshooting, mats, rulers, [...]
If you didn't find what you were looking for, try a new search!
A beginner’s guide to sizes, types, techniques, troubleshooting, mats, rulers, [...]
Rotary cutting allows you to cut several layers of fabric [...]
If you struggle with getting the best from your equipment, [...]
If you struggle with getting the best from your equipment, [...]
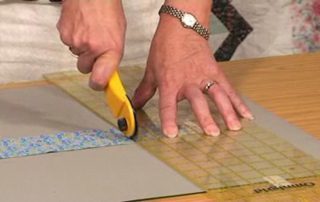
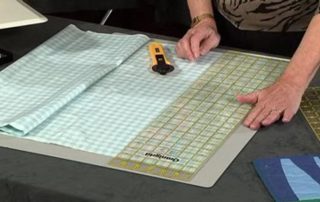
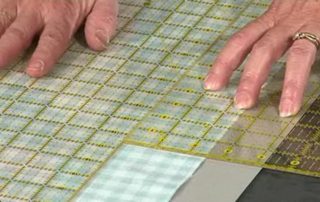
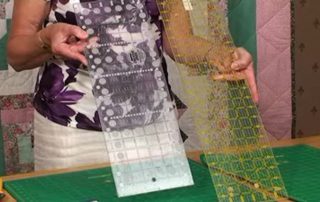
Valerie shows how to rotary cut strips, squares and rectangles; [...]
Valerie shows how to rotary cut strips, squares and rectangles; [...]
In this workshop Jennie shows you how to use pre-printed [...]
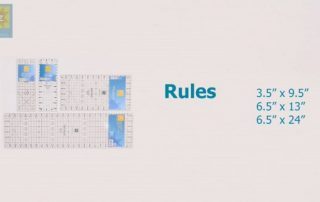
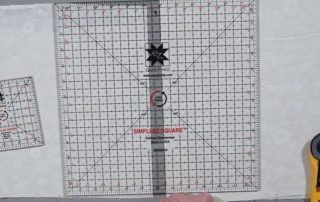
In this workshop Jennie lists the rotary rulers she likes [...]
This is such a personal choice it's difficult to answer however there are a few things to think about that might help: Are you left handed? If so be sure that the rotary cutter works for you - most work both both right and left handed people but not all. What about the ruler? Well this should be a companion piece to your board - make sure that the ruler works across your board in both directions (i.e.
What to do when the strip of fabric needed is [...]
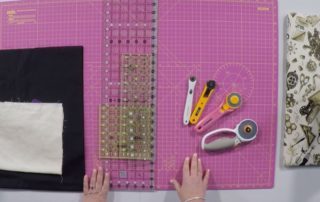
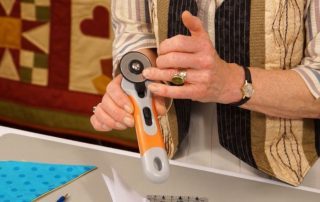
Learn about the basic rotary cutting equipment.
Valerie tells you about available equipment and what to look [...]
Rotary cutting allows you to cut several layers of fabric [...]
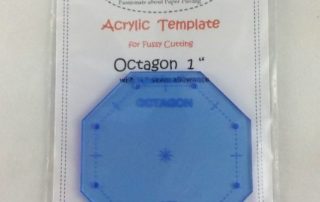
Safe acrylic template for use in English Paper piecing or [...]
You can use them to cut paper - this is [...]