Throwback Thursday – from our Archives: In this workshop we use pre-cut 5″ squares and 2 ½” strip rolls but you could raid your scrap/ stash.
Scrap Quilt with Valerie Nesbitt (workshop notes) (free)
| Artist | |
|---|---|
| Pattern Type | |
| Supplier | Justhands-on.tv |
Description
Throwback Thursday – from our Archives: In this workshop we use pre-cut 5″ squares and 2 ½” strip rolls but you could raid your scrap/ stash.
To Make the quilt with 35 blocks: (from a kit of 40 squares and strips)
You will need 35 squares @ 5″
35 strips 2 1/2″ x 42″
plus border fabric.- 1m will be sufficient.
Quilt will be set 5 squares across x 7 rows down.
Sewing: ¼” seam allowance is assumed but not essential
Select 35 squares that you like
Cut the rest in half horizontally to give rectangles 5” x 2 ½” – you need 70 in total so as you haven’t enough from the squares you will need to cut from the strips. (You could just skip this step and cut all 70 rectangles from the strips)
Cut the rectangles from as many of the strips as possible to give variety (and save rest of strips for the longer rectangles you will need later)
Audition these 5” rectangles above and below the squares in a pleasing manner –
could be identical fabrics;
could be similar;
could be completely different
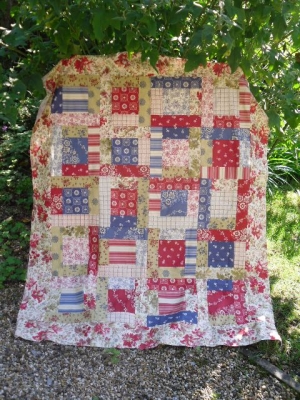
TIP: the sample has different fabrics BUT same colourway
Sew these onto the squares:
Press and measure
You should be around 9”: make a note of this measurement
TIP: If your measurement is larger then your seam allowance is a little small and if the measurement is smaller then your seam allowance is a little large BUT IT DOESN’T MATTER – just be consistant.
From the strips you need to cut 70 rectangles at this measurement – again use as many of the fabrics as possible- so suggest you could cut 2 rectangles from each of your selected strips.
Again audition against the squares and sew into place to give a square.
Arrange the completed squares in a pleasing sequence 5 across x 7 down – if you turn the alternate squares you will avoid having seams in the middle of the block to match and avoid having a strong horizontal line in your quilt.
Add a border (if you want) – anything up to 6” will work.
Layer quilt and bind –all the leftover strips plus a bit of calico were used up in the binding.
How to make the smaller red/white/blue quilt that uses 20 squares click here for pdf workshop notes.
Brilliant for beginners
This is a really simple pattern that is absolutely brilliant for beginners and for using the pre-cuts – 5″ squares and 2 ½” strips (jelly rolls and/or strip rolls are great). You can of course raid your fabric stash too and you can think about a completely randomn scrap look or a more co-ordinated colour theme.
Get your fabric from the shop
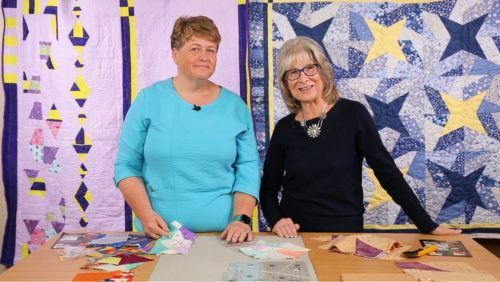
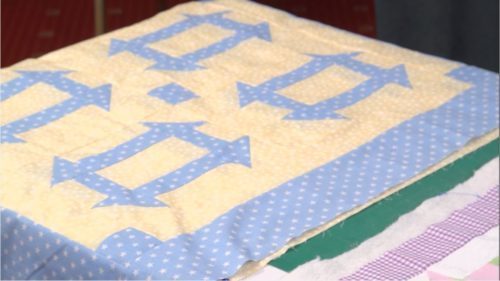
Our friends at Creative Quilting have put together two kits – one with 1930’s style fabrics (so similar to the quilt that is hanging in the background) and another in red/white/blue -so similar to the one Valerie works on. These are available for you to purchase from us as a kit in the shop – details to the right of this workshop.
More workshop notes on how to make this smaller red/white/blue quilt can now be found up in the workshop notes section.




Reviews
There are no reviews yet.