About Susan
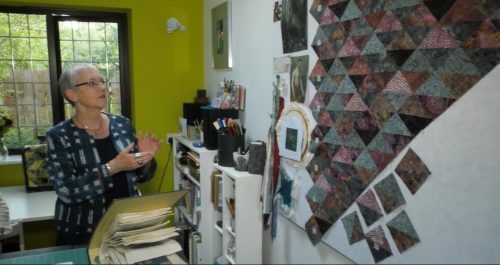
Susan has been teaching embroidery for many years and loves to share her enthusiasm for a wide range of techniques.
She completed her City and Guilds Part II in Embroidery with the inspirational Anthea Godfrey at the London College of Fashion (as it then was). Over the past twenty years, she has taught a wide range of classes including City and Guilds and leisure classes, with the WI, and most recently independently in the Wivenhoe and the Colchester area of Essex.
Susan took early retirement in 2013, giving her more time for embroidery and textile related activities. She enjoys being an active participant in the local branch of the Embroiderers’ Guild, visiting more exhibitions, attending workshops and reading more about her favourite textile art topics both in print and on-line.
She has also become a student again, signing up for the City and Guilds in Patchwork and Quilting with Creative Stitch Suffolk. According to Susan, “It’s been great to take on new challenges and learn new skills.”
Susan blogs regularly on her website, Threadlines, where she gathers together various elements of her long-standing fascination with embroidery and textile arts more generally. Her hope is that Threadlines will widen her circle of embroidery and textile art friends, and encourage non-embroiderers to try it – just once (that’s all it takes!
Signature Technique
Embroidery
Susan’s Top Tips
- The simpler the stitch, often, the more you can do with it.
- One of the (many) aspects of textiles that I love is that you don’t need to be doing just one project. Try new things…several at a time!
- Doing something completely new with a group of friends makes it extra special.
- If you want to know the ‘right’ way to embroider then turn to a technique manual.
Books and Patterns
Posts
Hampden Park – do you remember when it was covered in quilts?
We had an appeal for quilts from Ann Hill for the Alzheimers Scotland appeal and Hampden Park was completely covered in quilts: to see it: click here:
We also made some quick quilts ourselves and you can enjoy that video too by clicking here:
Turning 20 Again with Hearts
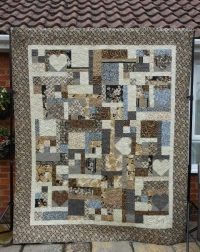
Look what Jasmine made at our Dunford House 2014 weekend getaway (and finished with her wonderful long arm quilting at home) look forward to you joining us again in 2015.
What size do you need to cut with the rotary cutter?
The rotary cutter means that you dont have to use templates and here are some simple rules that you can apply throughout your patchwork: On the Flying geese fast no-waste method you just need to add 1 1/4" to the finished size you need for the larger square so for 4" you need 5 1/4" and then 7/8 to the size of the smaller square - so again you are right at 2 7/8 and if you want to enjoy the video on this click here: The other magic numbers for rotary cutting are as follows:
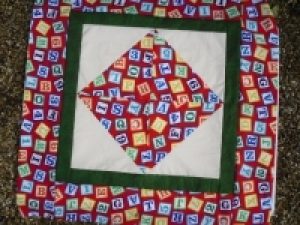
For a plain square you add 1/2" so 4" finished becomes 4 1/2" For a half-square triangle we now add 1" - so cut 5", - and once sewn trim back to be an accurate 4 1/2" before sewing
and for quarter-square triangles we add 1 1/4" (as per the flying geese) and pay attention to the seam allowance we sew!


