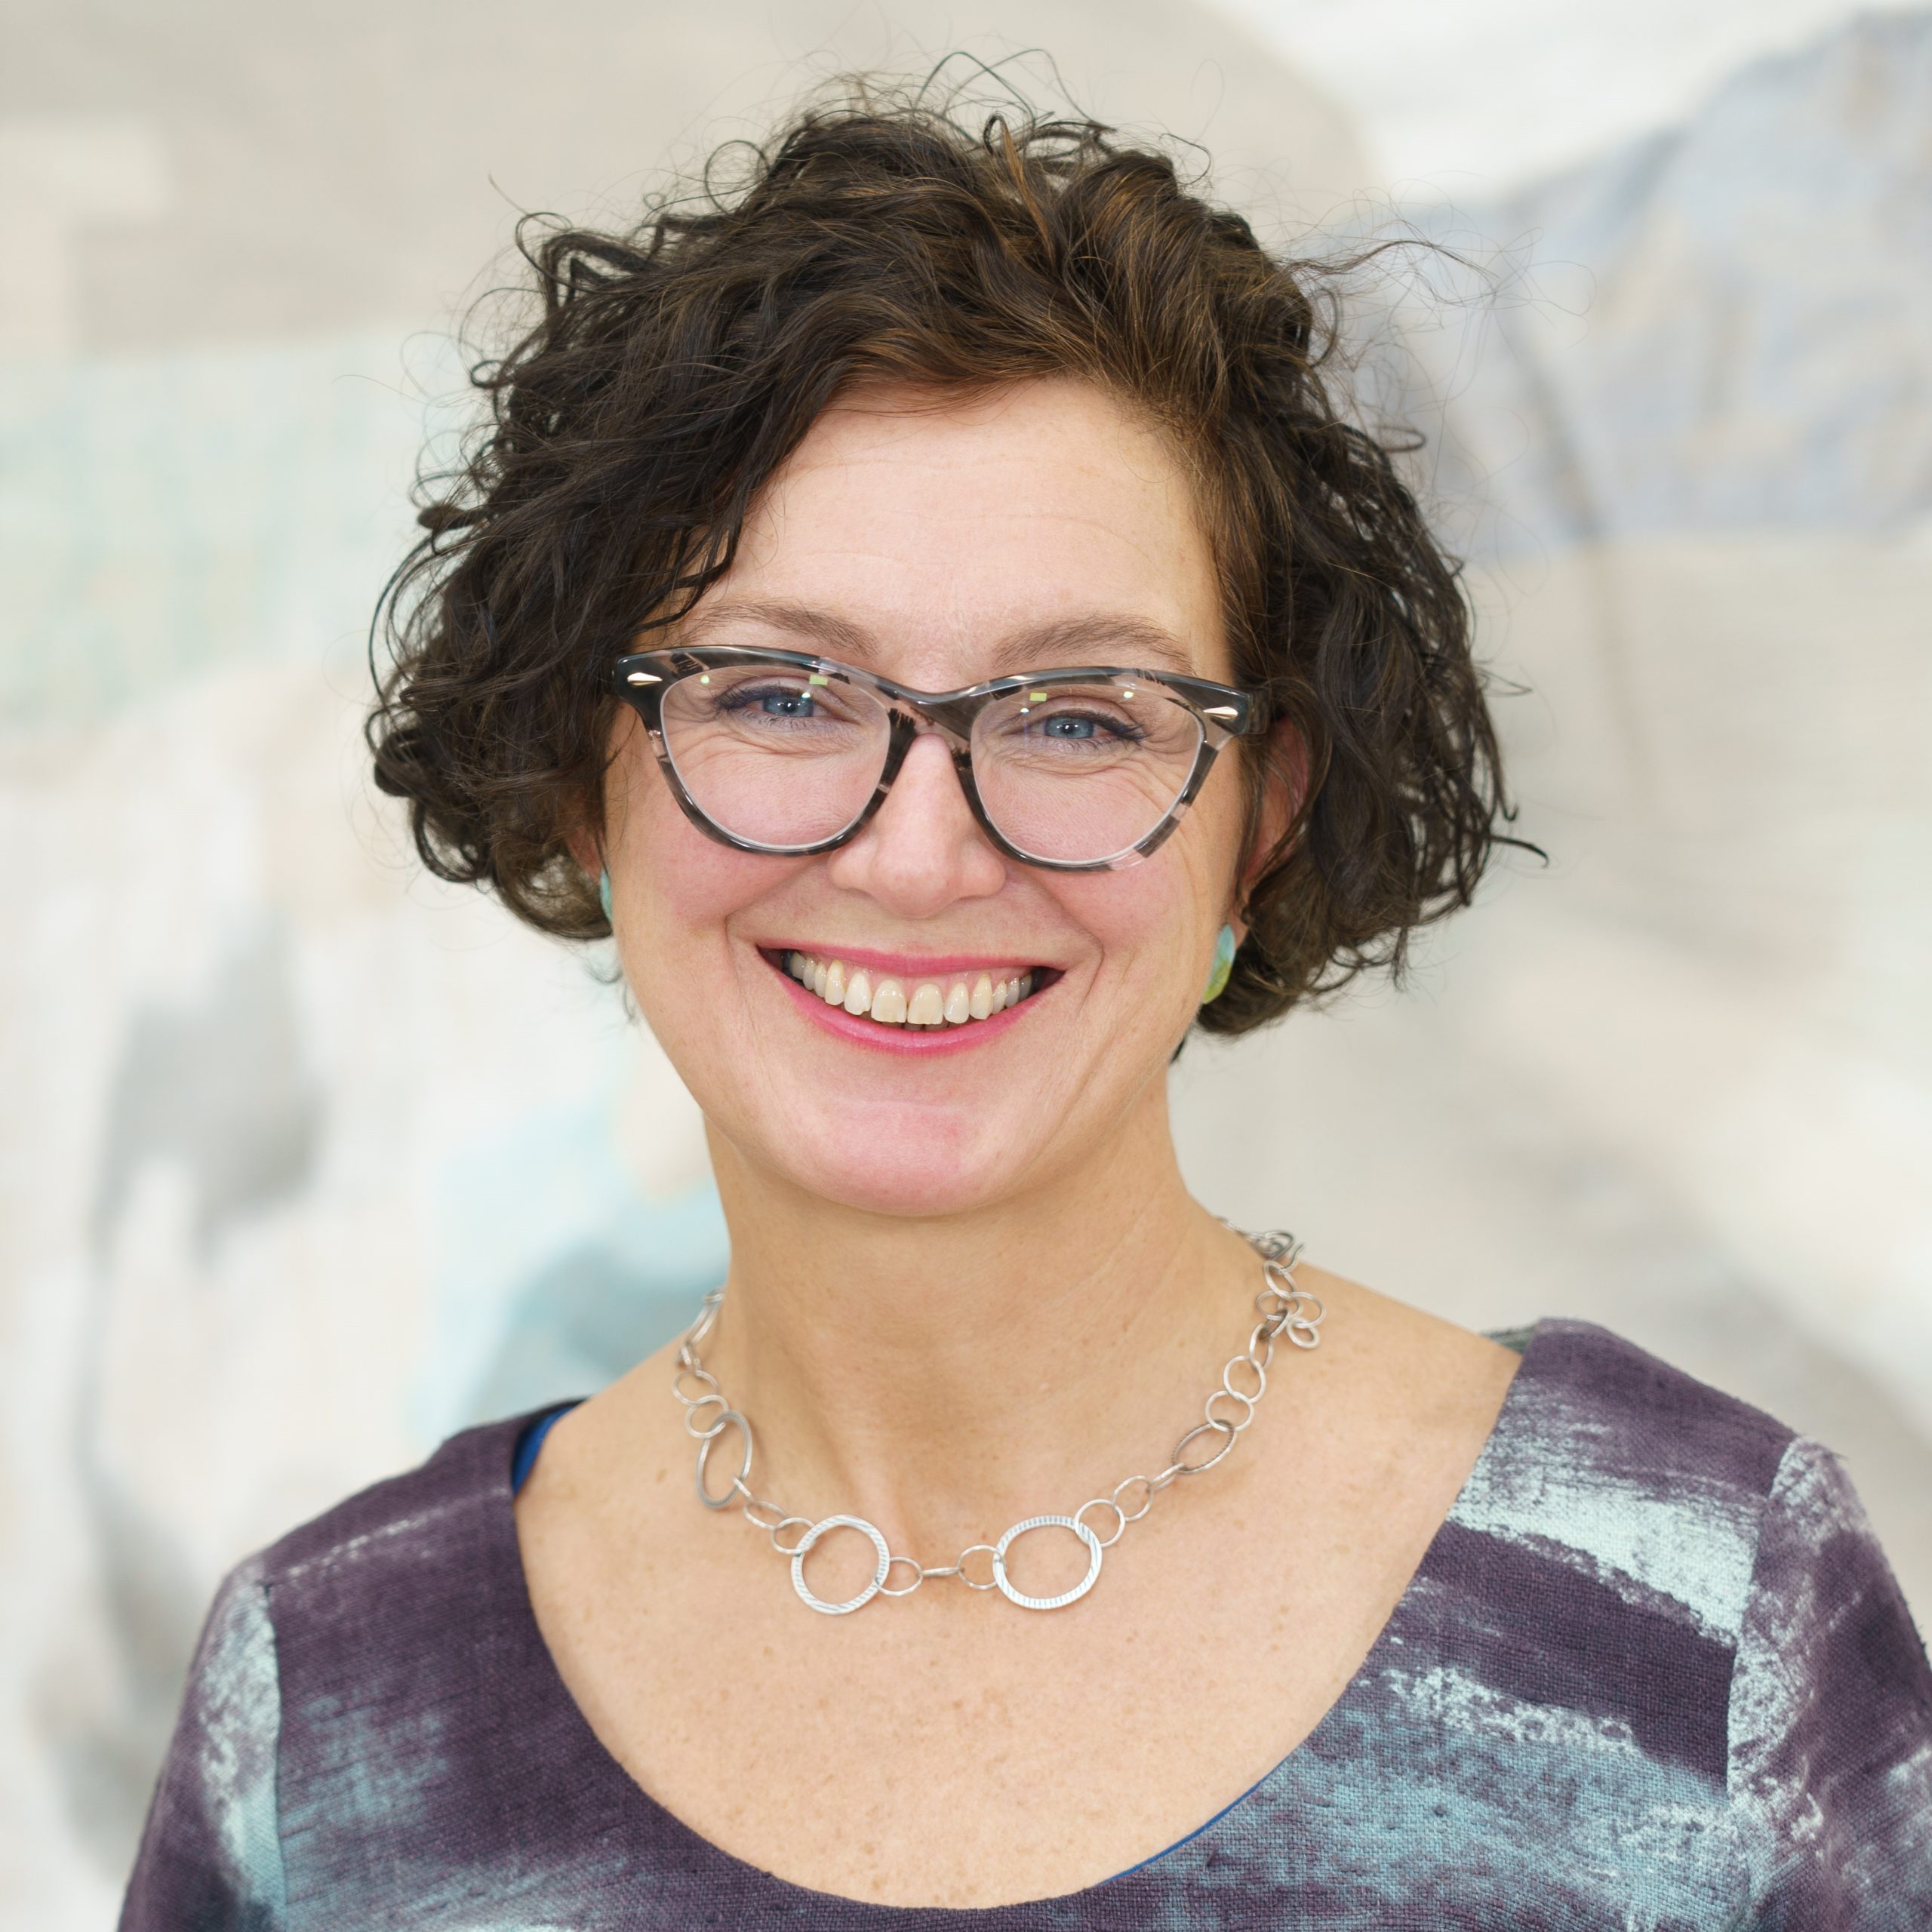
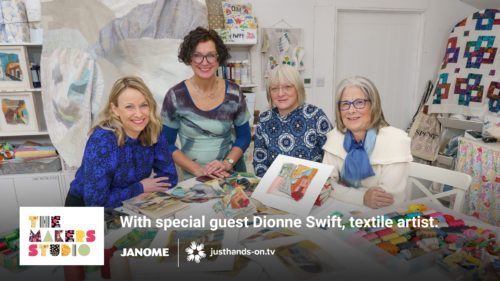
About Dionne
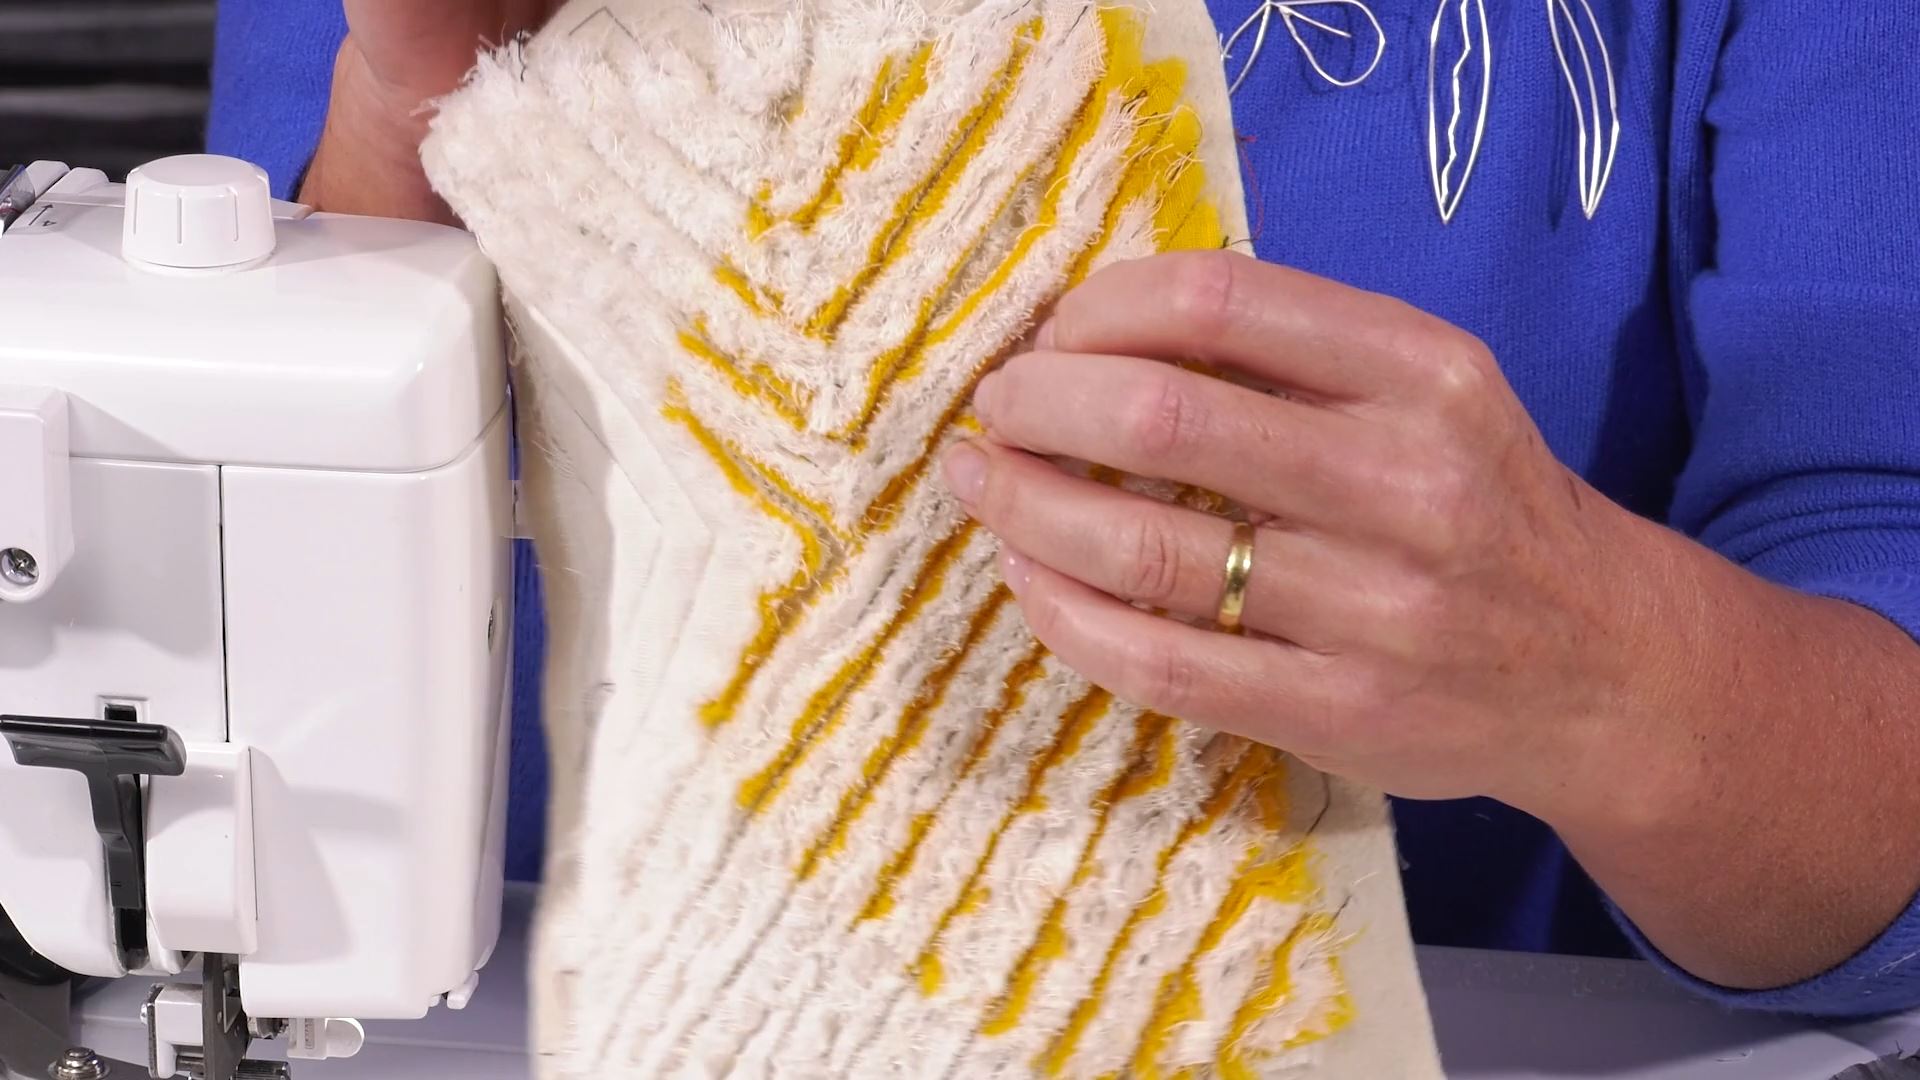
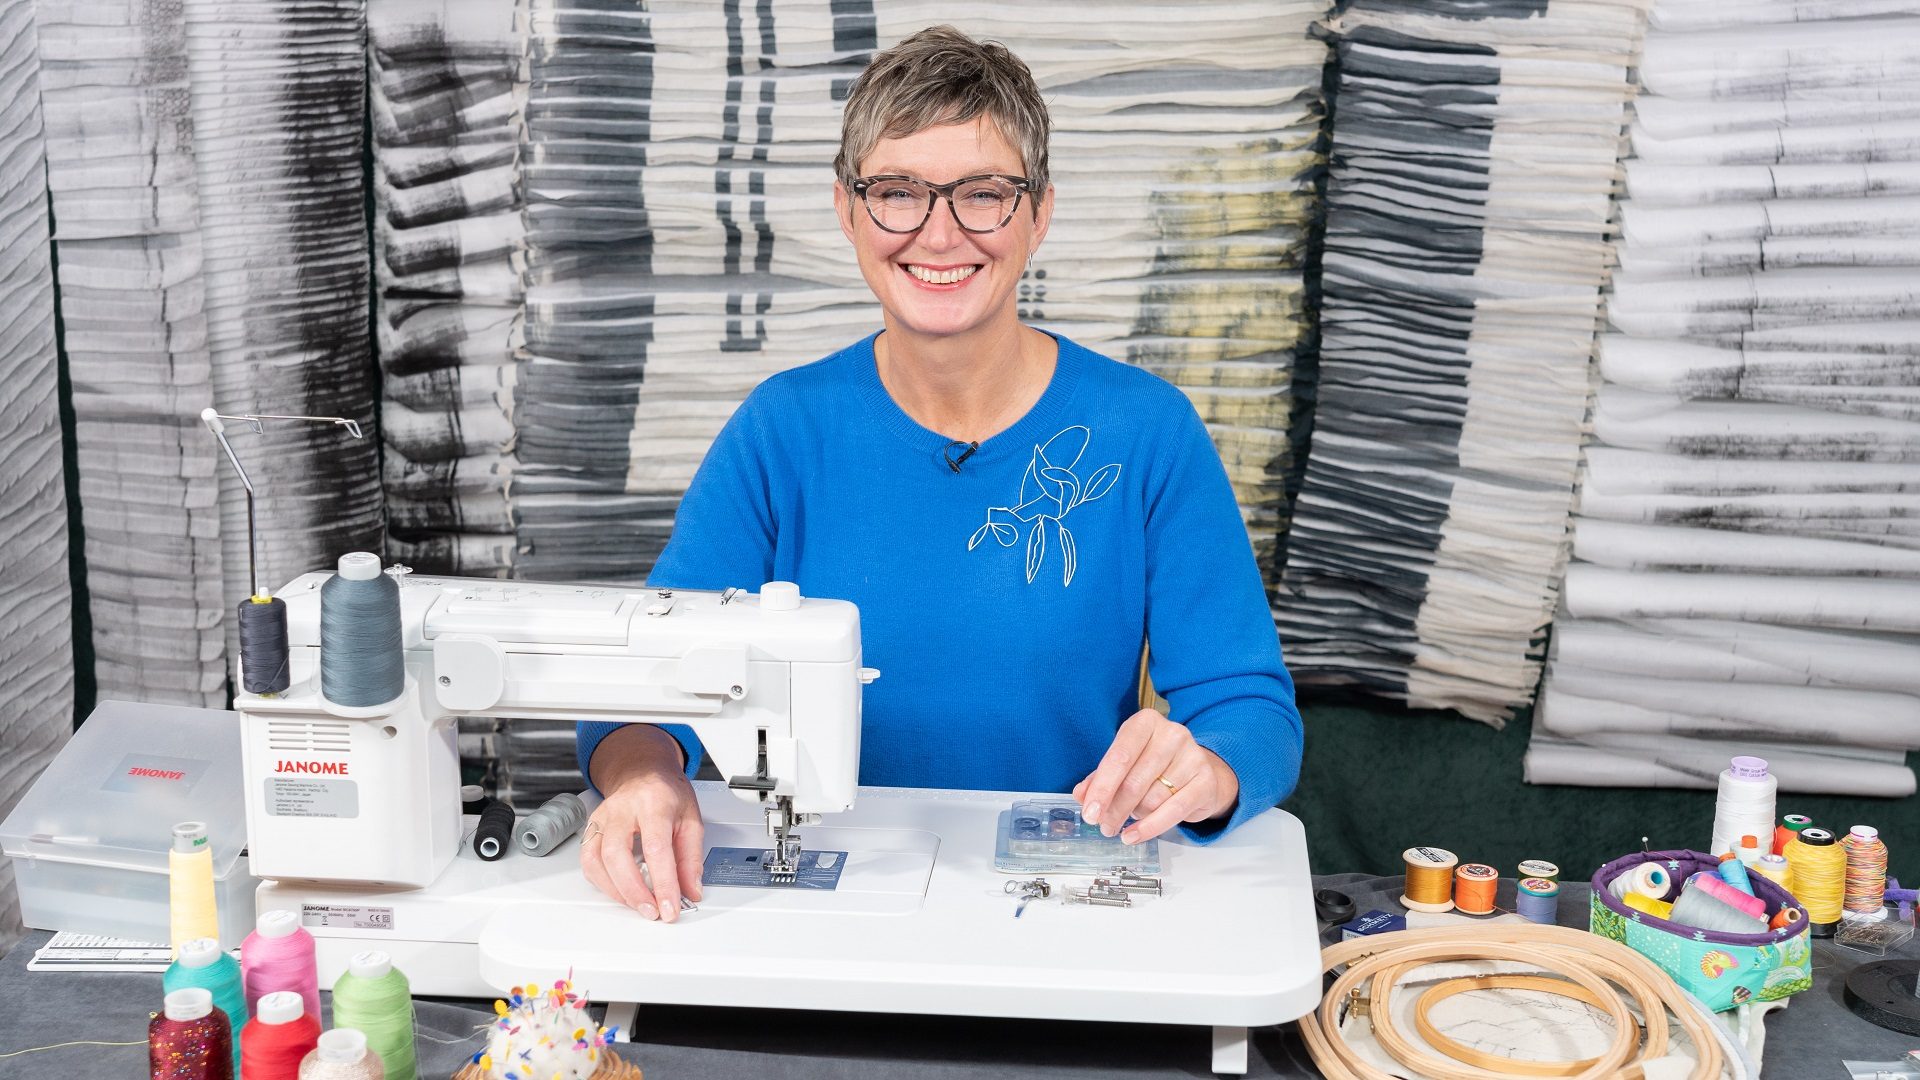
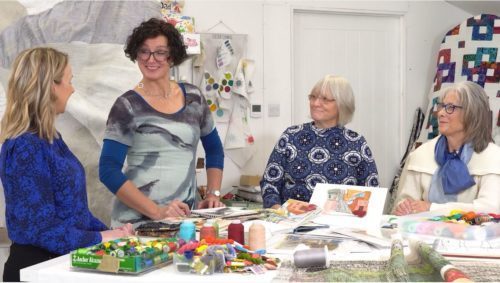
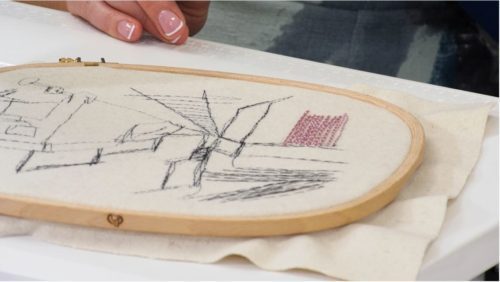
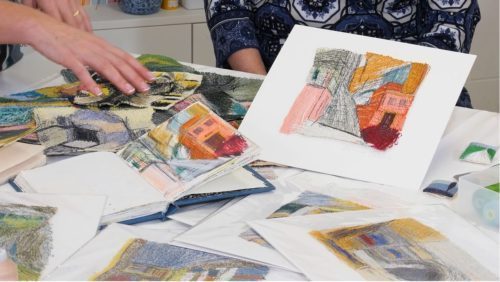
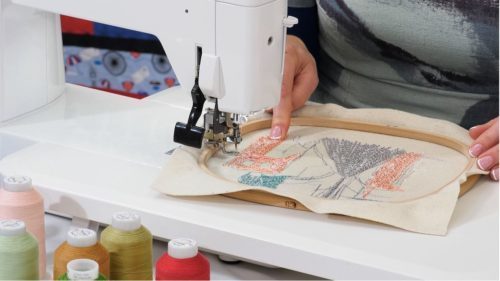
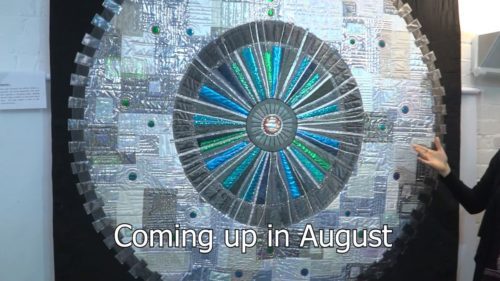
Dionne paints with stitches to create dynamic, vibrantly coloured textiles. Her needle becomes her pen and thread her ink. The scale, emotion, and energy of her landscapes are inspirational.
Dionne is a graduate of Goldsmith’s College, London University. She has a Masters in Textiles from UCE. And she has been recognised by the industry for her incredible work, e.g. Shortlisted Finalist in the Fine Art Textiles Award at The Festival of Quilts 2020.
Now based between Yorkshire [UK] and Abruzzo [Italy], she exhibits and tutors internationally.
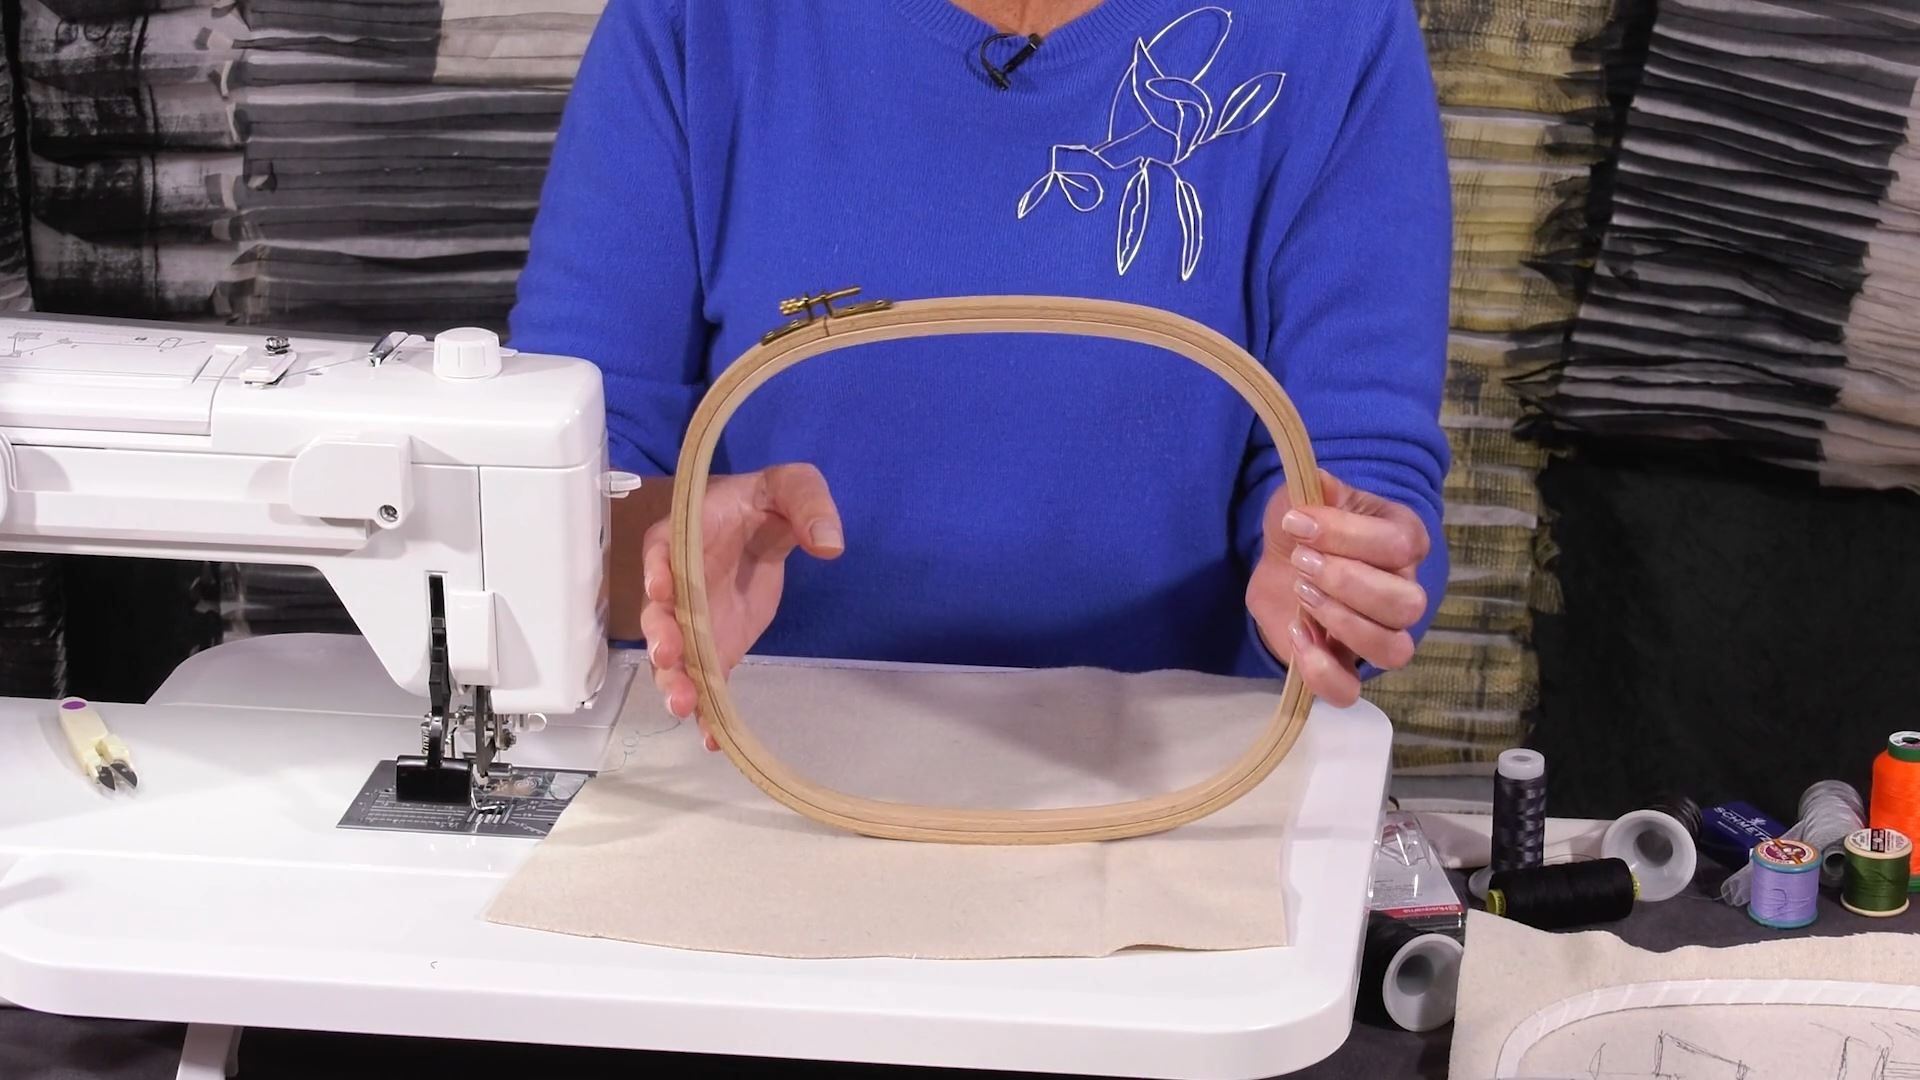
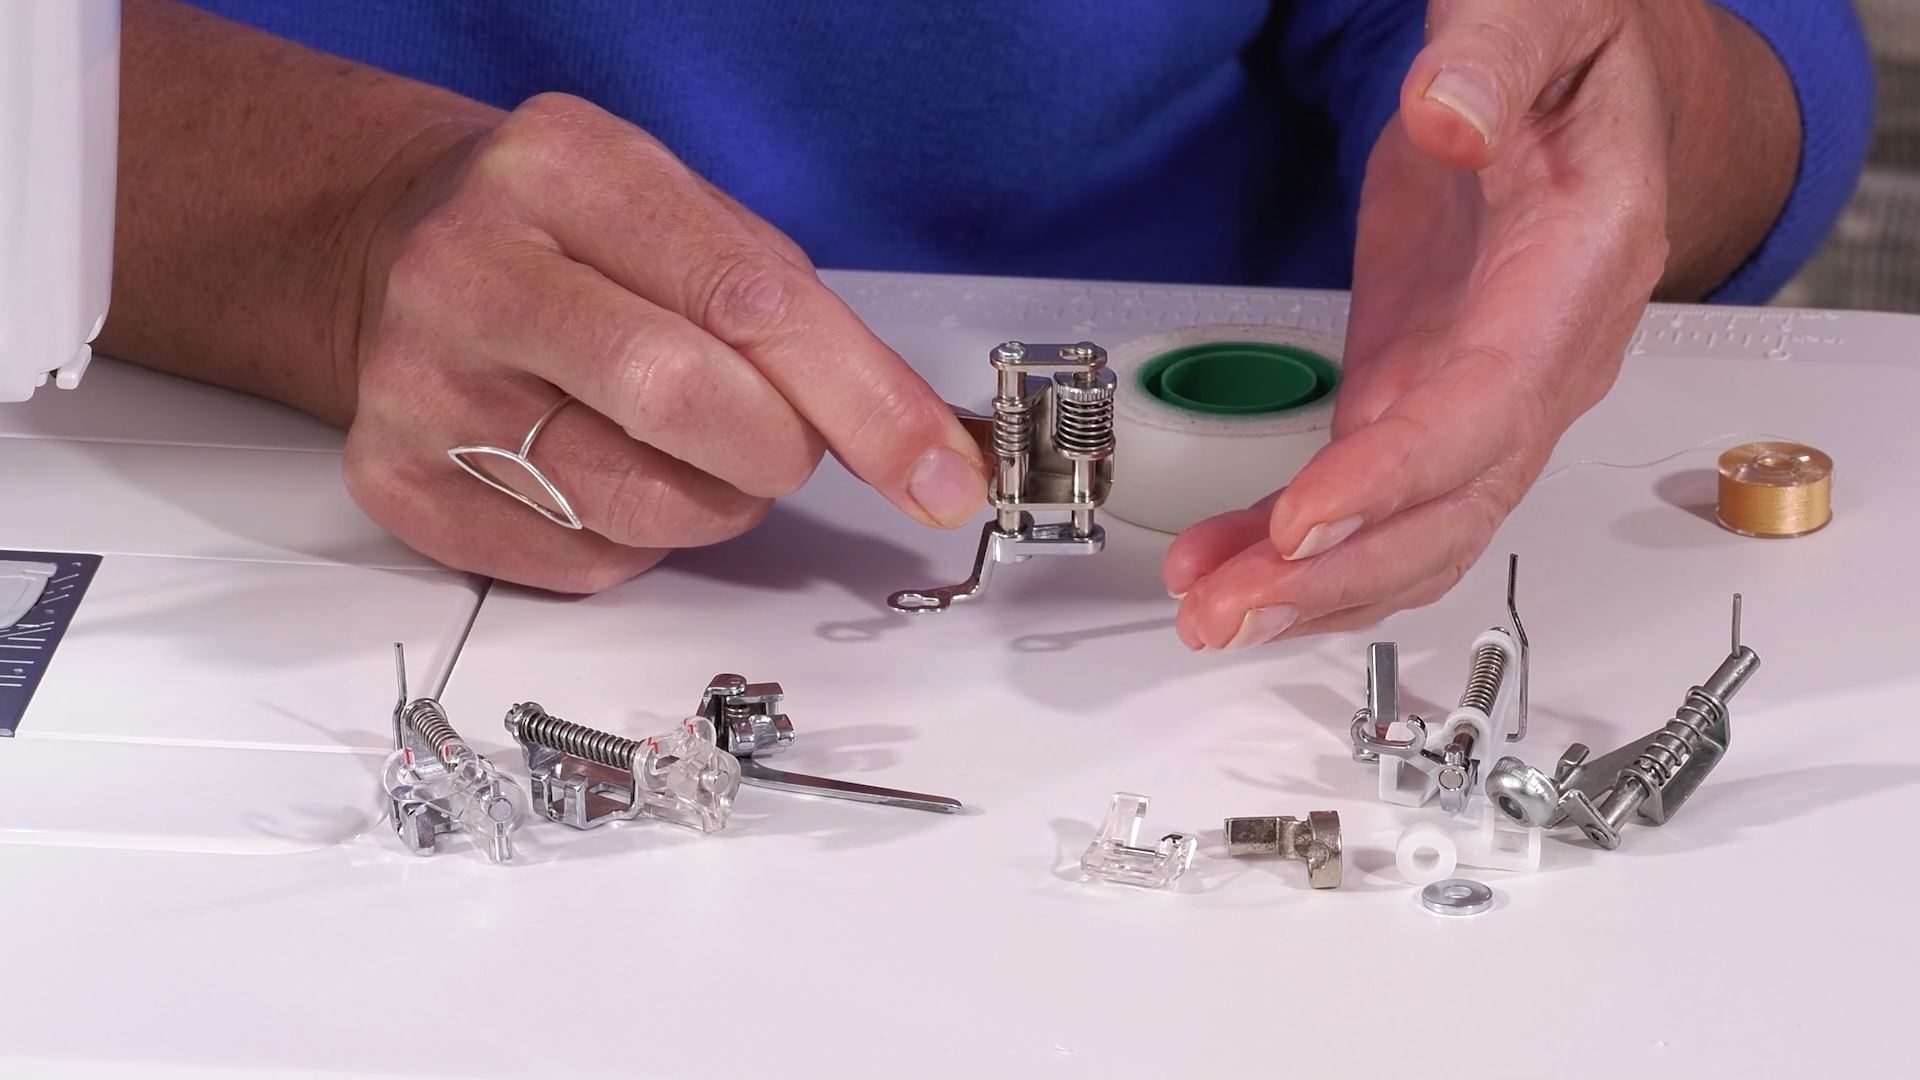
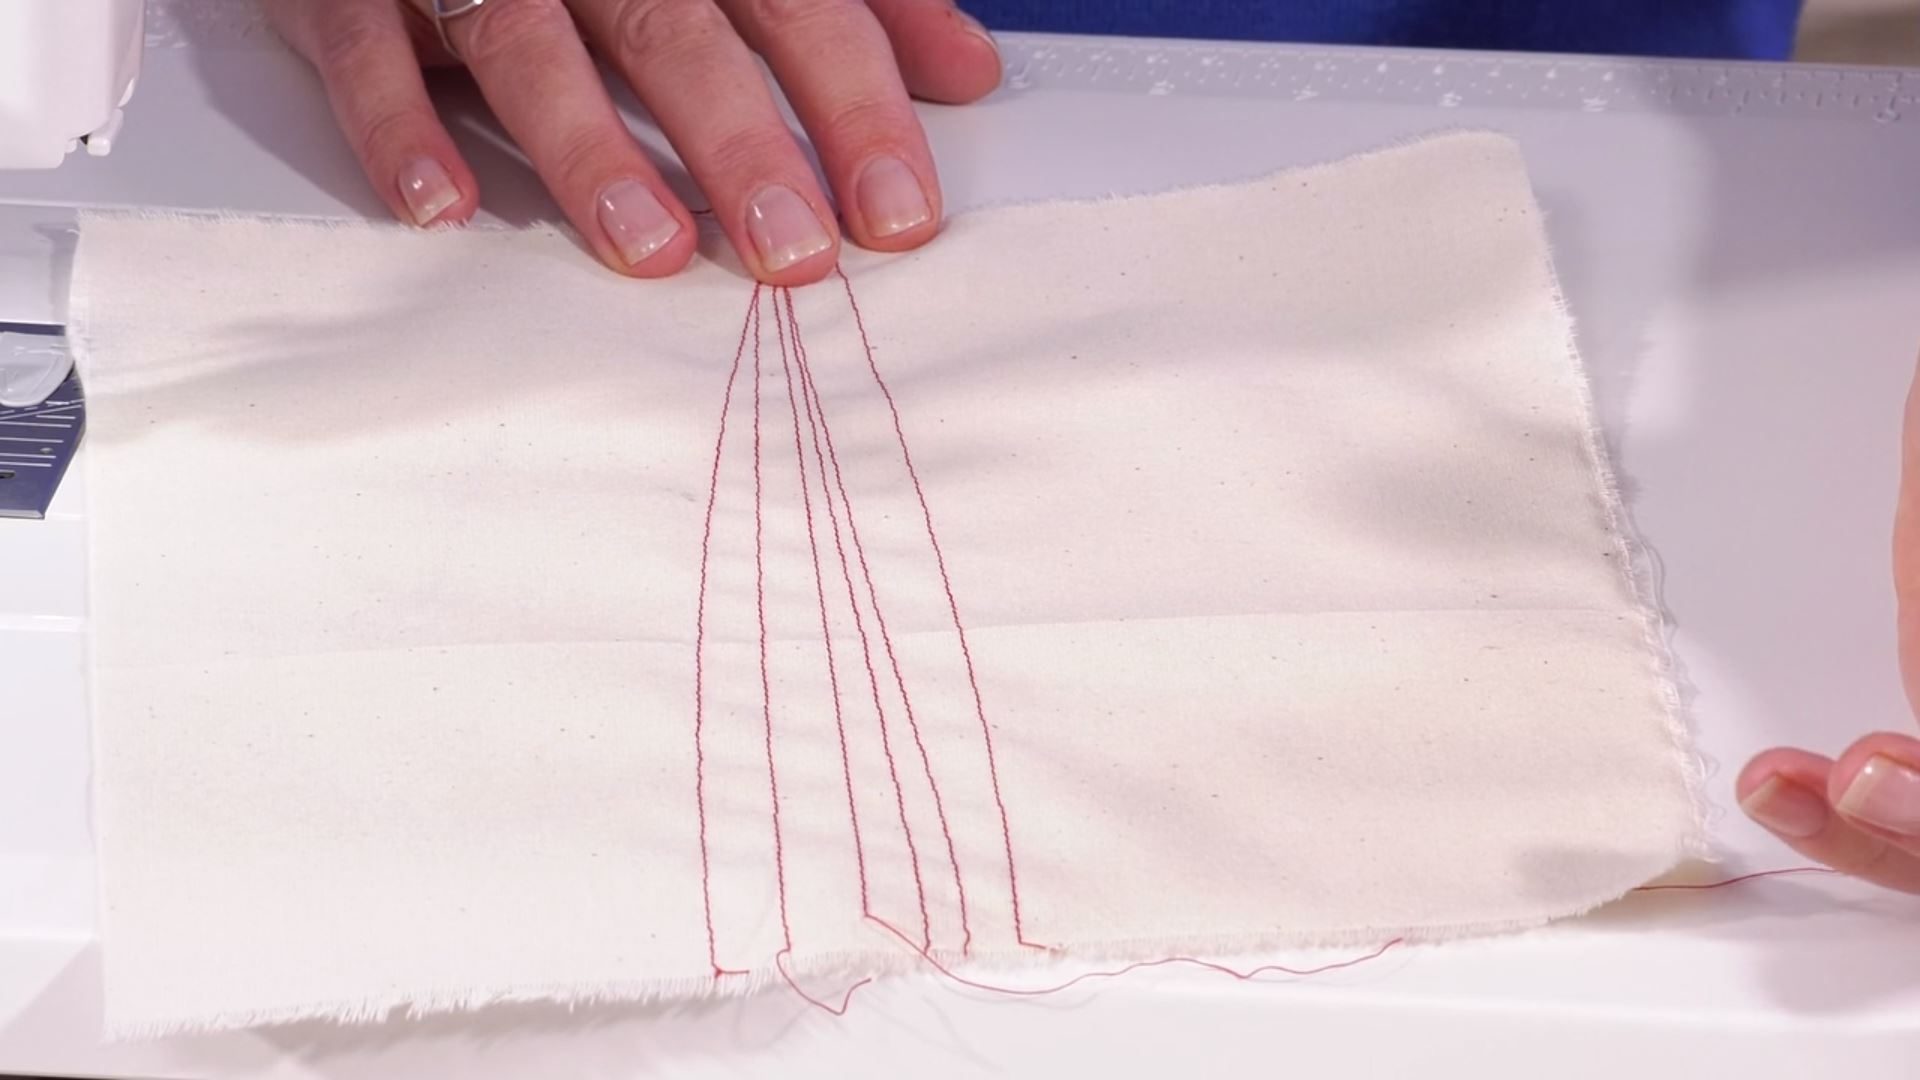
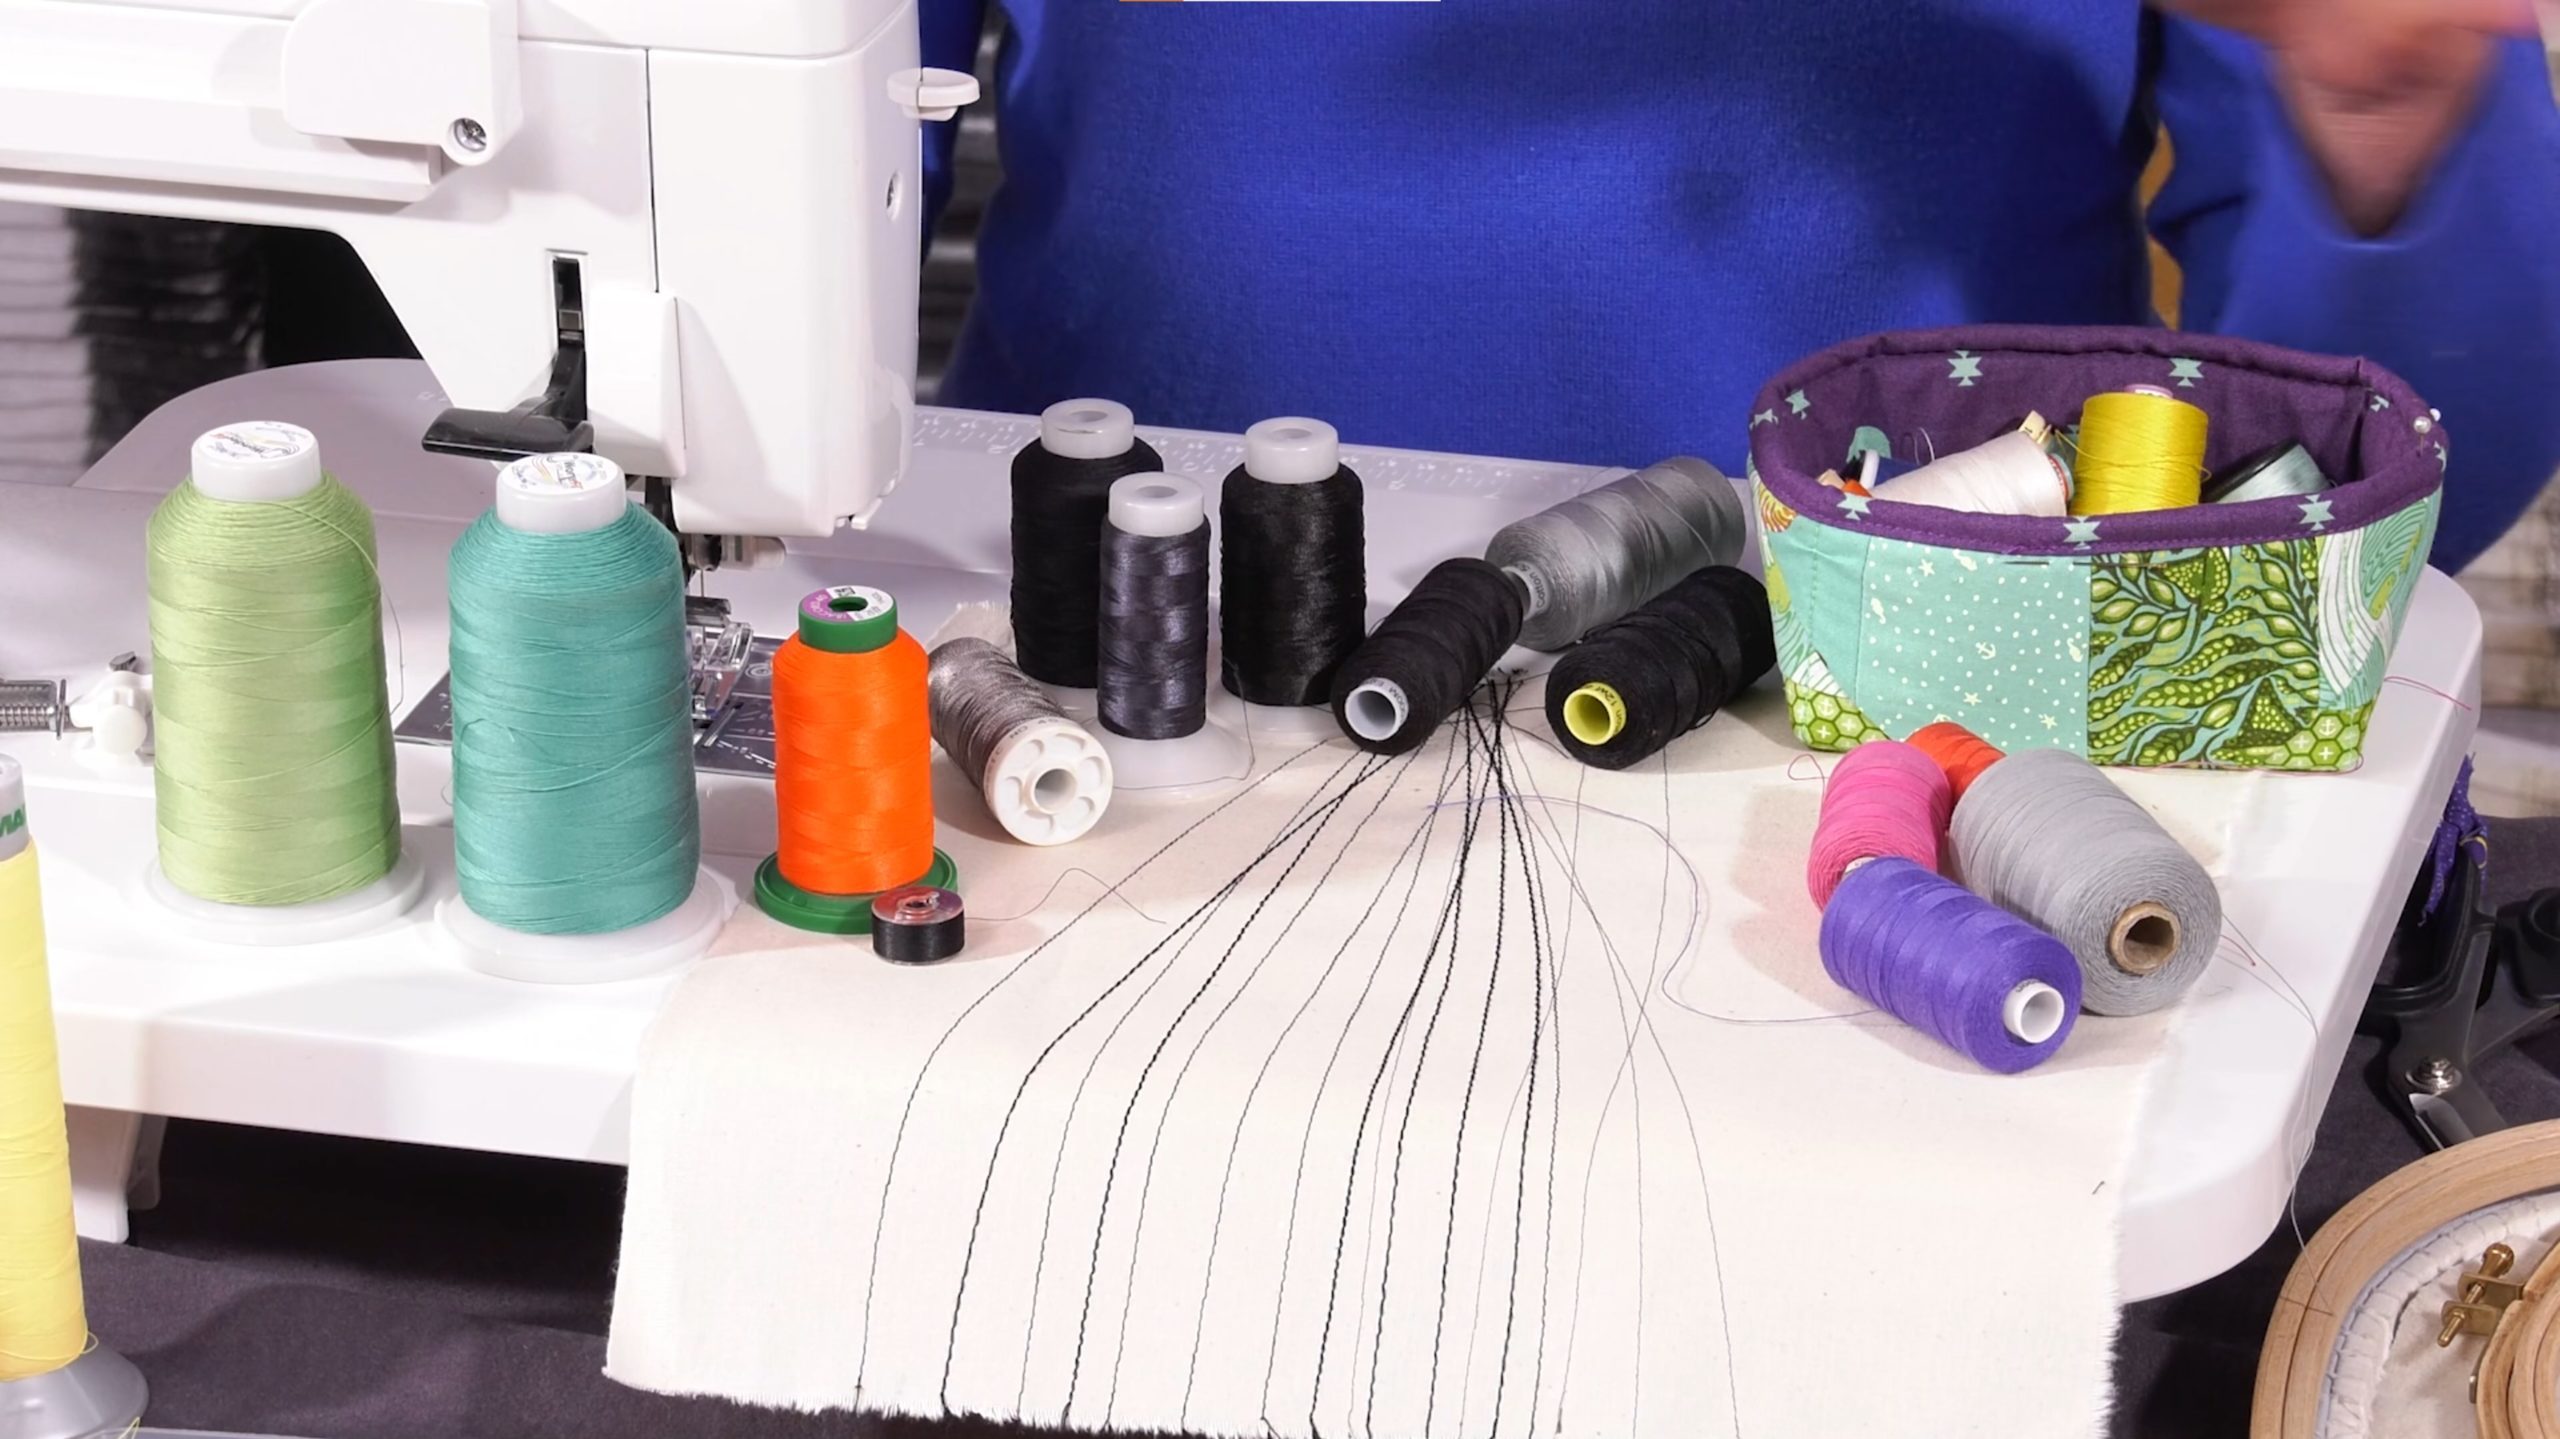
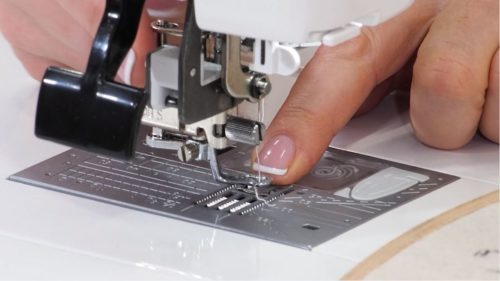
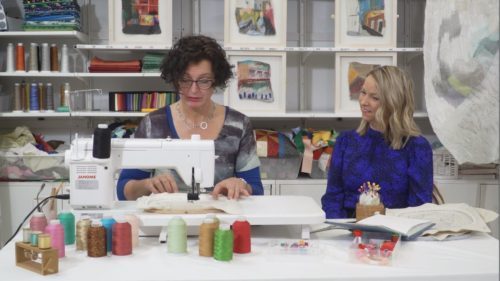
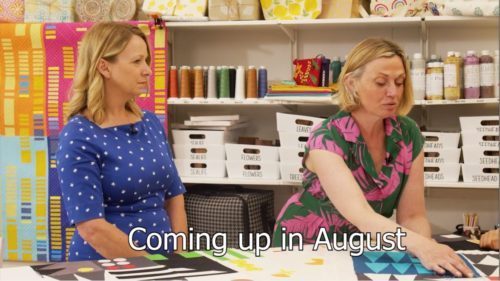
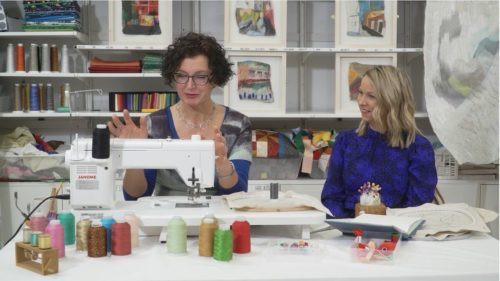
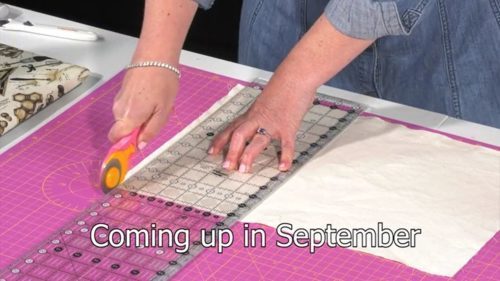
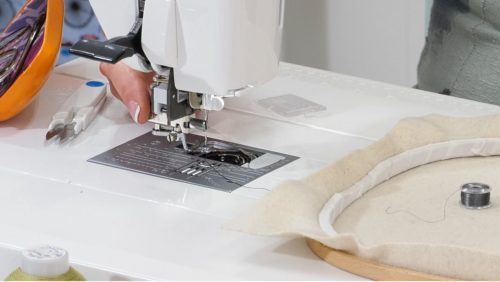
You can watch Dionne demonstrate how to use free motion embroidery to create a range of patterns, textures, tones, and shades in an episode of The Makers Studio series, brought to you by Janome and justhands-on.tv.
Signature Technique
Painting with stitches
Top Tips
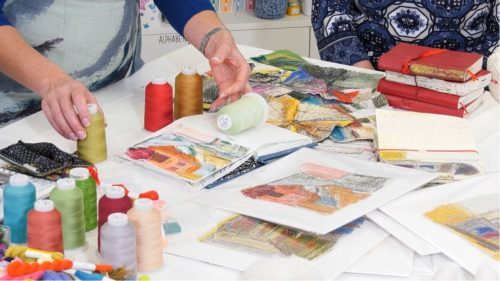
- Use a vibrant mix of thread weights, colours, and styles to build up a more dynamic texture.
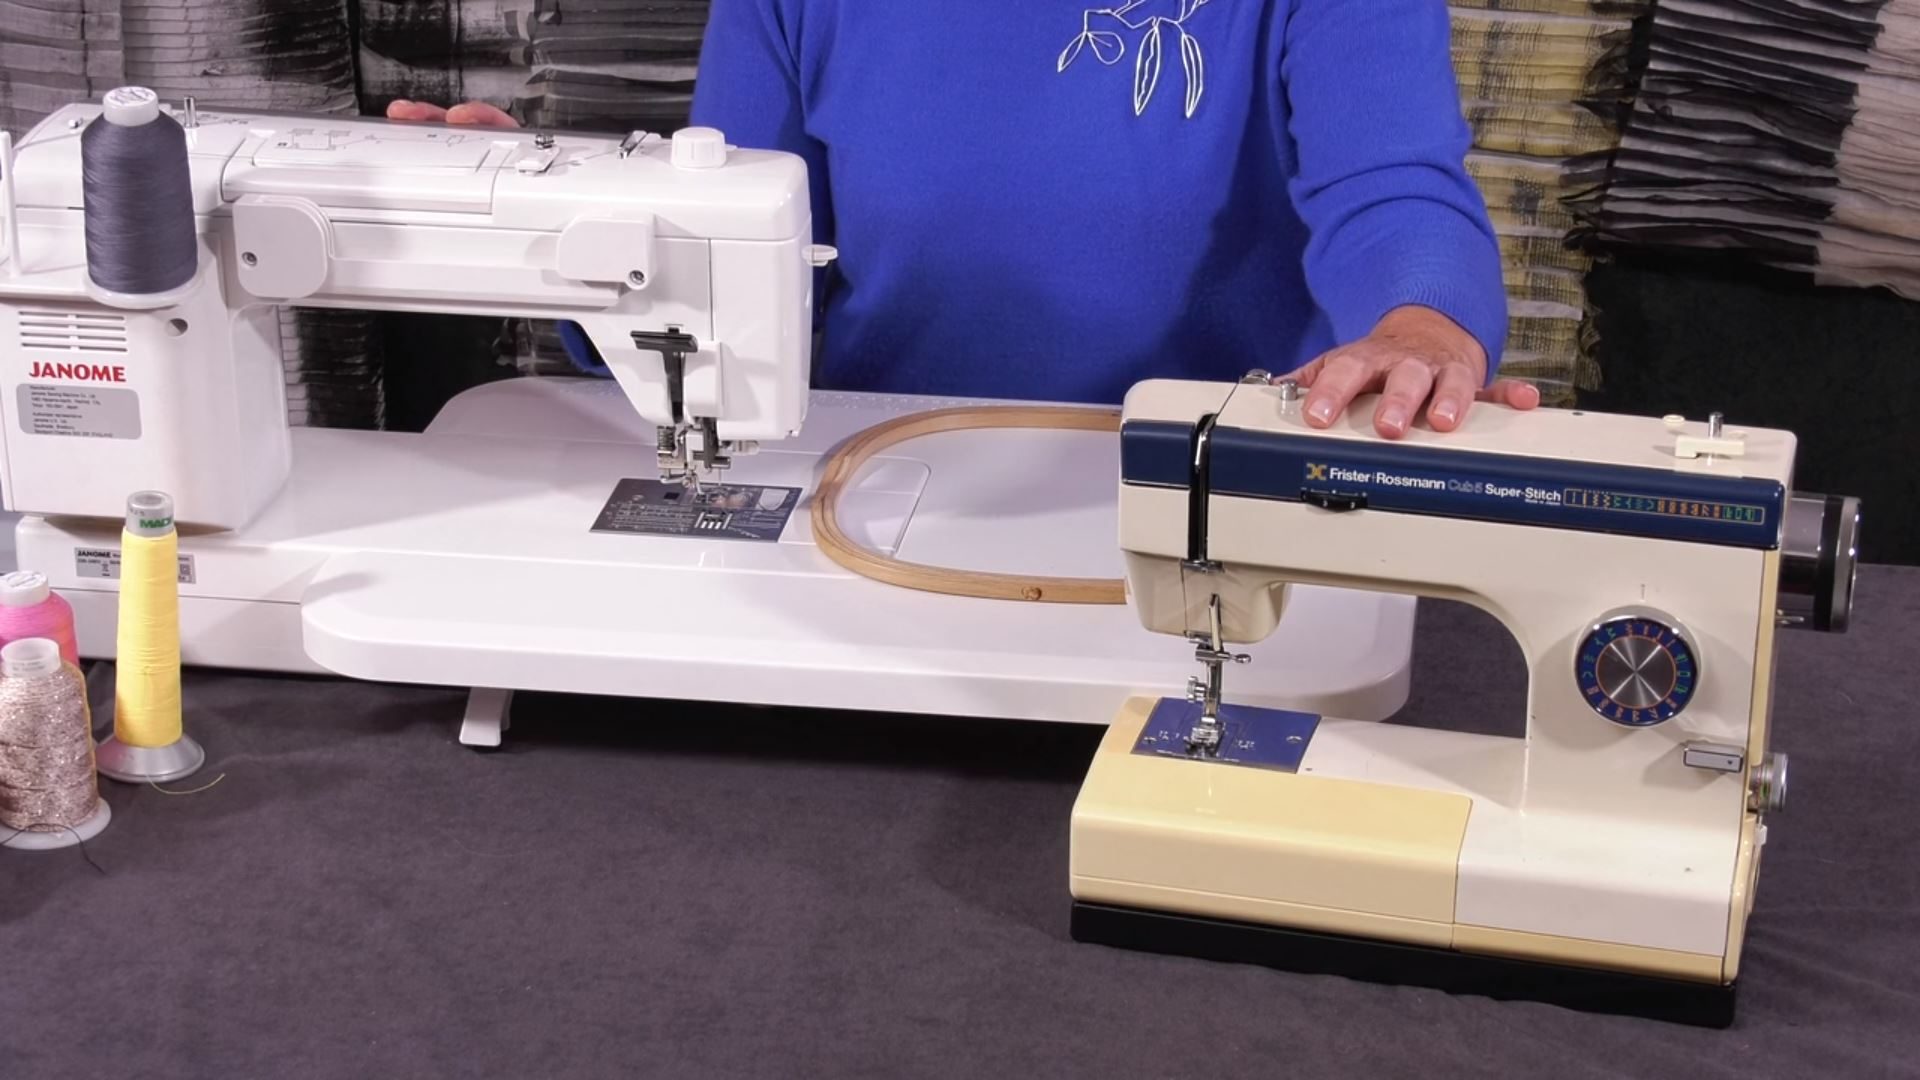
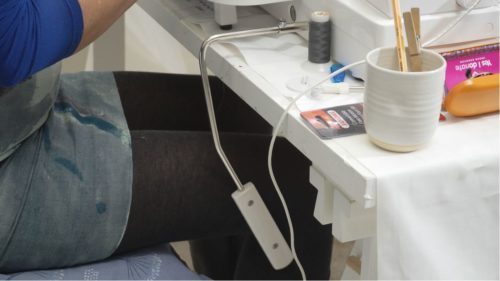
- A machine with an extra wide throat makes it easier to manipulate your piece.
- Cover your hoop with fabric to give it more grip. You need the fabric to stay drum like as you manoeuvre it.
- Drawing your subject first, with pencil on paper, can help improve your observation and knowledge of your subject – try not to work from a photograph.
- Practice by stitching your signature to get started. Your muscle memory will help you.
- Think of painting with stitches as an orchestra with the sewing machine, threads, fabric, hoop, and you (!) coming together to work as one.
- Don’t be afraid of the machine. After a few hours of speed sewing it becomes second nature.
- Try not to have a set image of the outcome. You are not stitching an exact replica. The result is where you get to. There is no wrong in there. Enjoy the journey.
Videos
Patterns
Posts
Update 16th May 2014
Events This weekend many of our contributors are at Quilts [...]
How to finish an old english patchwork
Answer: I guess your question is geared to the uneven edge of your quilt if you are using paper pieces; and there are two ways of looking at this; the first is to leave the edge uneven and add borders to which the uneven paper pieces are appliqued - this will give the look of the patchwork floating.
The other is to make half templates to fit in the gaps so that the paper pieced patchwork then has straight edges - you can also do this and then add borders by machine.
You would then layer, quilt and bind as usual(see our video on layering if that helps) Just a thought about the quilting - most of my students do this stitching a 1/4" away from the seams - and this can be done by hand or by machine
2nd May 2014
Meet Kate Findlay A teacher and textile artist who has [...]

