Workshop notes for Reverse Applique by Dawn Cameron-Dick
- written by Valerie Nesbitt
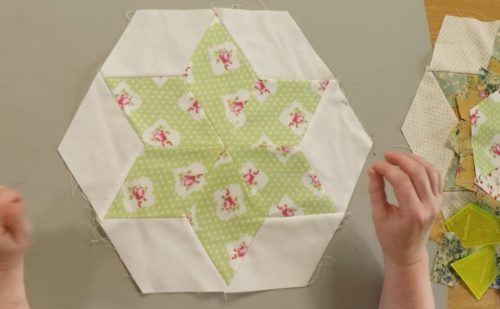
Dawn traces off the whole design onto freezer paper; if your design is too small you can always enlarge it with the help of a photocopier.
Cut out the parts of the freezer paper that you want to be your applique bits (in Dawn’s case the petals of the flower)
Iron this on top of the top piece of fabric and trace through the holes – this is the right side of your work so take care.
Then take your 2nd piece of fabric that will be the petals and tack it carefully so that it is right side up below the background fabric, held securely but NOT through the petals of the flower.
Cut away the petals from the front, taking care that you only cut the top layer and leave yourself a small seam allowance
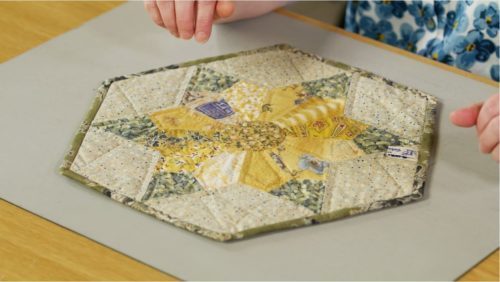
Needleturn the seam allowance under until the drawn line is right on the edge, using the heat of your thumb to press, and then using your thin needle and thread stitch the top layer into the bottom layer.
Repeat for all the petals and other shapes where you want the bottom fabric to show through.
Description
We caught up with Dawn at the Festival of Quilts back in 2011, but she was there again this year!
Don’t worry if you can’t draw. You can find inspiration everywhere – all you need to do is be able to trace it, and for Dawn, the inspiration came from her ironing board cover.
Dawn also liked to ‘thumb’ press, use a milliners needle and work with thin 60w thread.
You can enjoy more of her workshops throughout the site. You could:
Quick Links
applique | classes with Dawn Cameron-Dick | Dawn Cameron-Dick | quilting | quilting workshop | tip | tutorial with Dawn Cameron-Dick (You can use Quick Links, which are also on the left hand side of most pages, to find more content on specfic themes.)



Reviews
There are no reviews yet.