Valerie shows how to finish quilt binding on the machine with the help of fancy stitches and thread.
Machine Stitching Your Quilt Binding with Valerie Nesbitt
| Tutor | |
|---|---|
| Skill Level |
Description
Handwork or Machinework
Putting the binding on your quilt is just so exciting, because it means the quilt is finished!
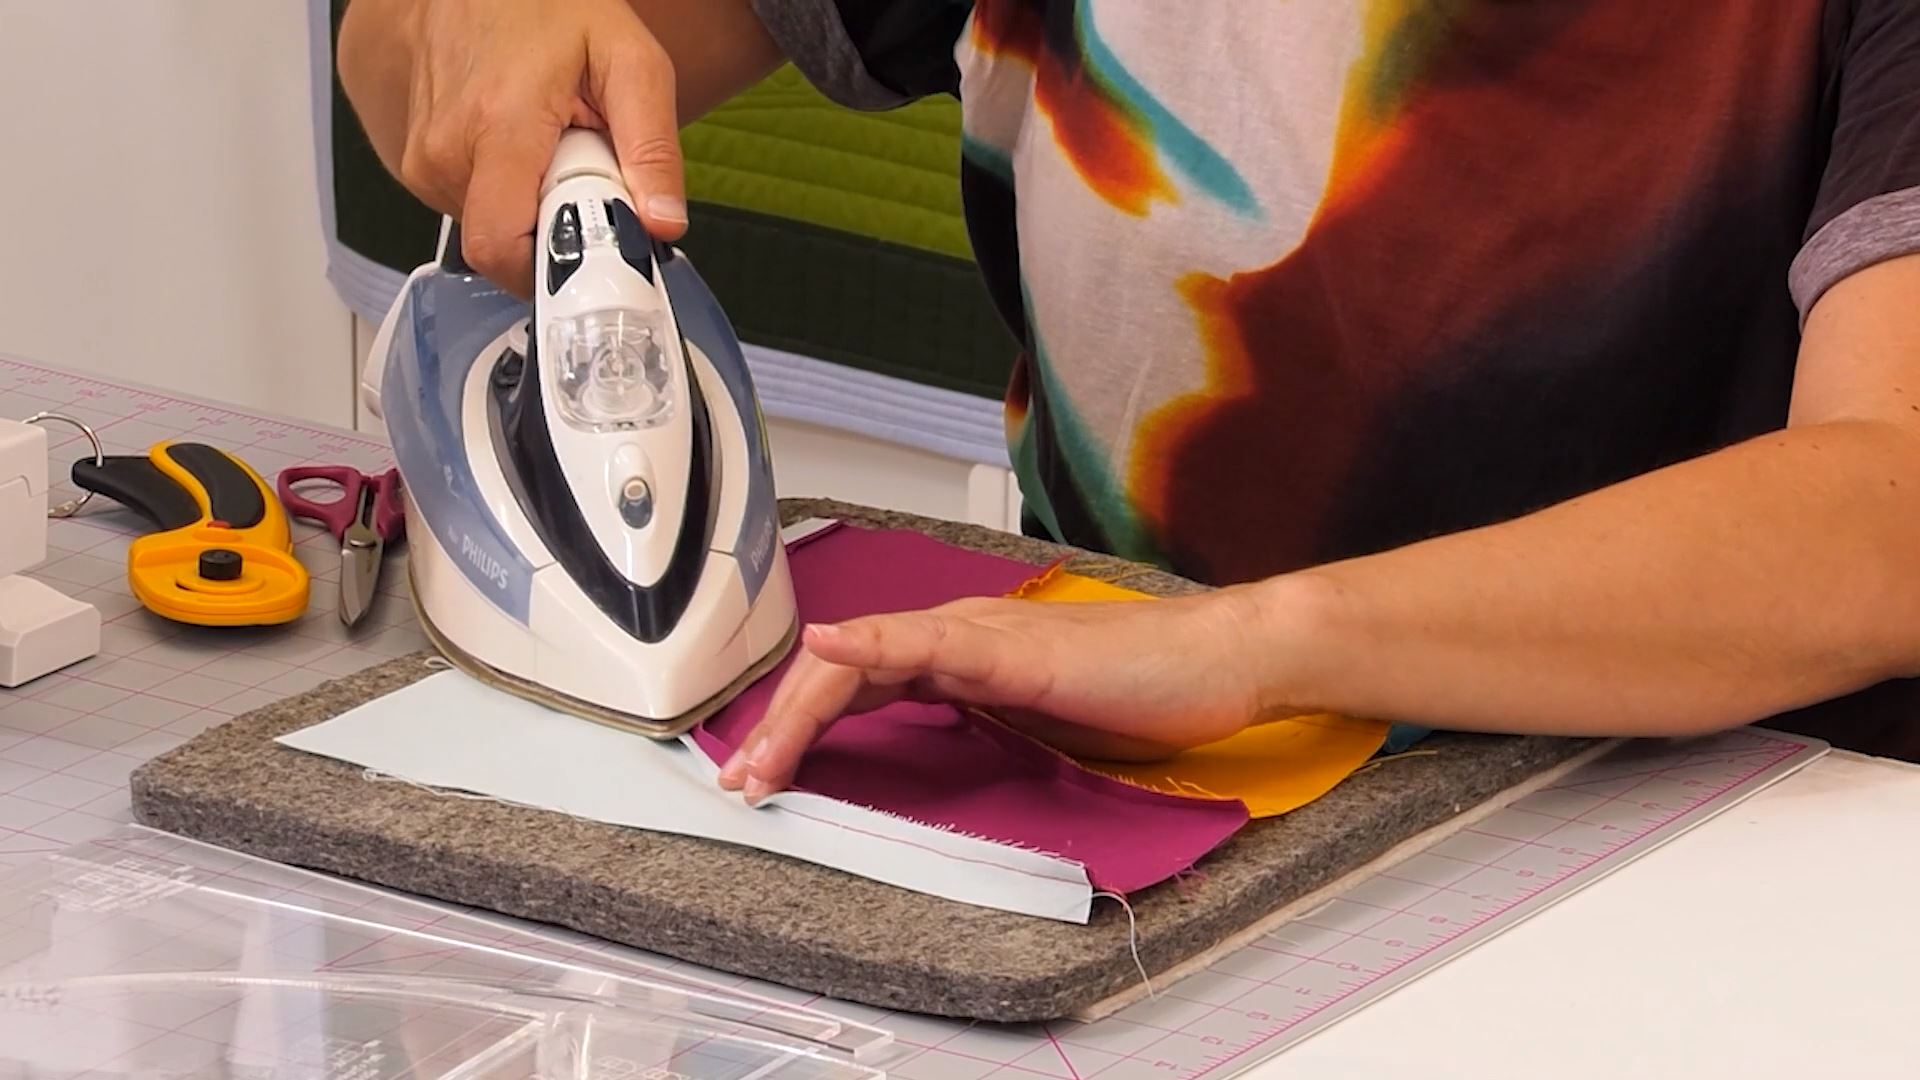
For those who love handwork this is also a joy but not everyone does it. Valerie shows you how you can complete the stitching using your sewing machine. She has first of all cut the strips for binding at 2″ wide and it is enough to go all round the quilt. The strips are cut straight across the fabric width no need for them to be on the bias. Once she has enough length Valerie sews the binding right side down, onto the quilt. It is single not double folded and then she mitres the corners.
You can enjoy a longer workshop with Valerie on how to create those mitred corners by clicking here.
What Stitch to finish
Valerie’s favourite stitch for this is number 7 on her Bernina and often appears on the Janome machines as number 37, but if you don’t have either of these then a simple zig-zag will also suffice.
Some tips to remember
- Always test the stitch you are planning to use on a spare piece of quilt sandwich, so that it imitates your quilt
- This sewing also tests your tension and that your machine is happy with the needle you have selected to go with the thread
- Remember that your bobbin thread will also show on the front of your quilt
- When using the walking foot always select a stitch design that continually moves forward. The walking foot doesn’t grip your sandwich so moving backwards can cause an issue on the design orientation
To know more about needles and threads watch Dawn Cameron-Dick’s lecture on the subject by clicking here.


Reviews
There are no reviews yet.