
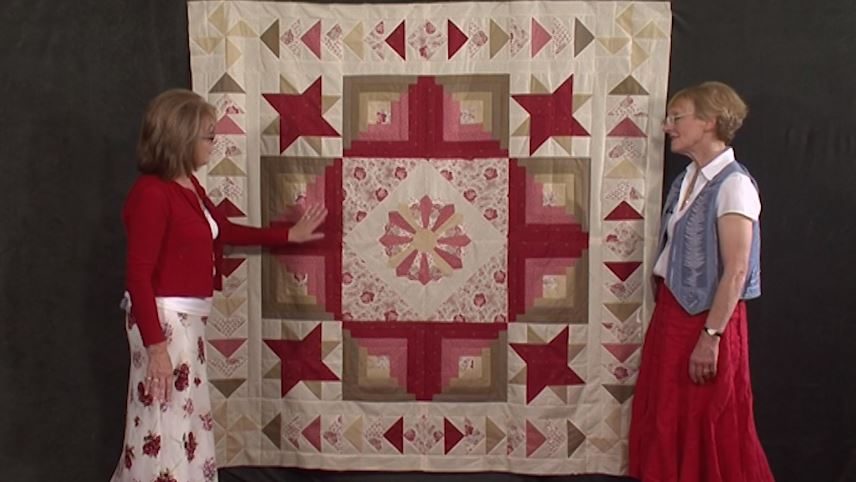
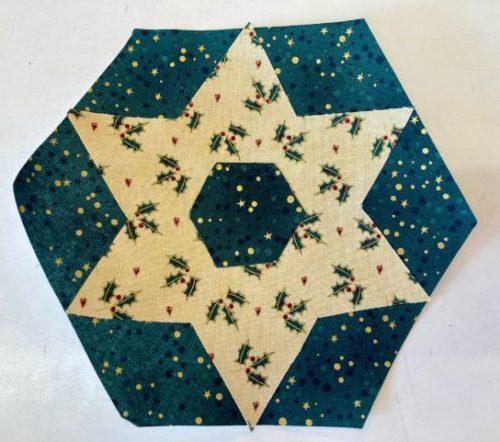
Well the top is done – now what? Well layer, quilt and bind of course!
Description
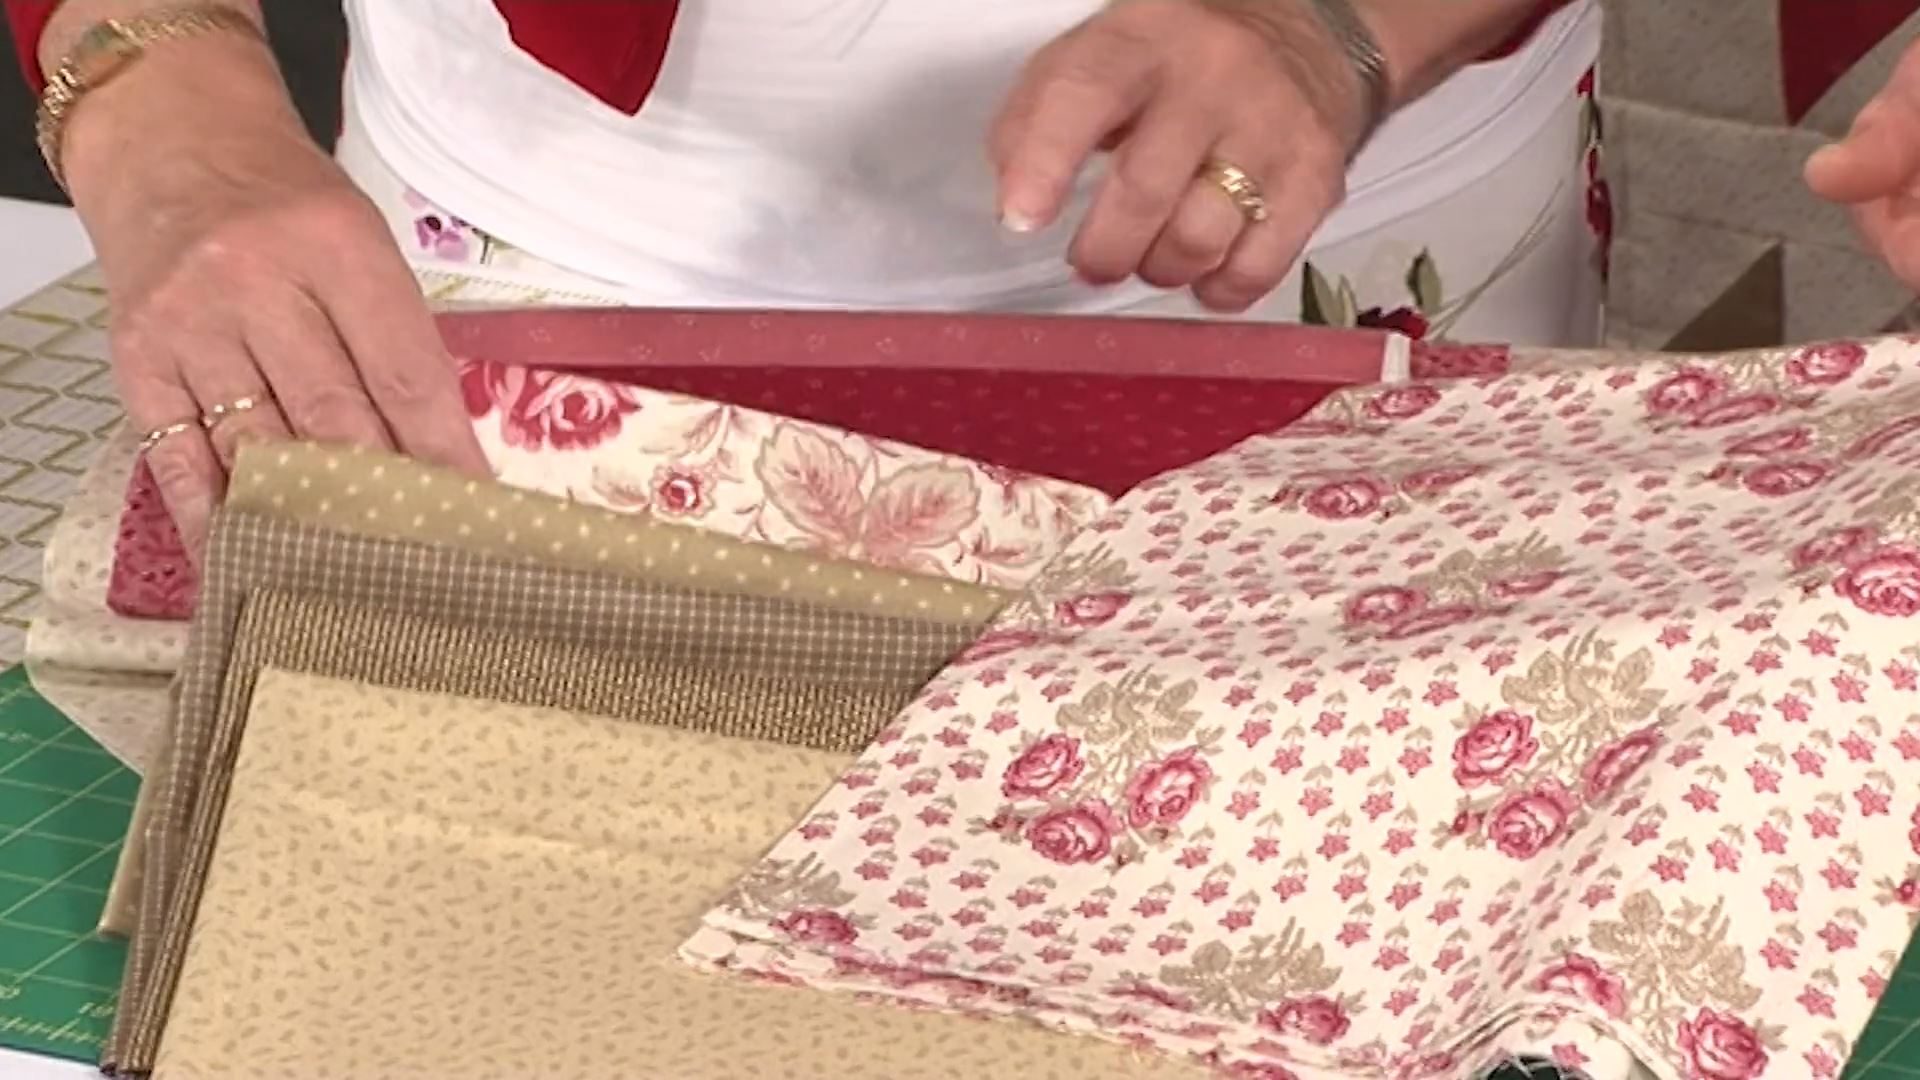
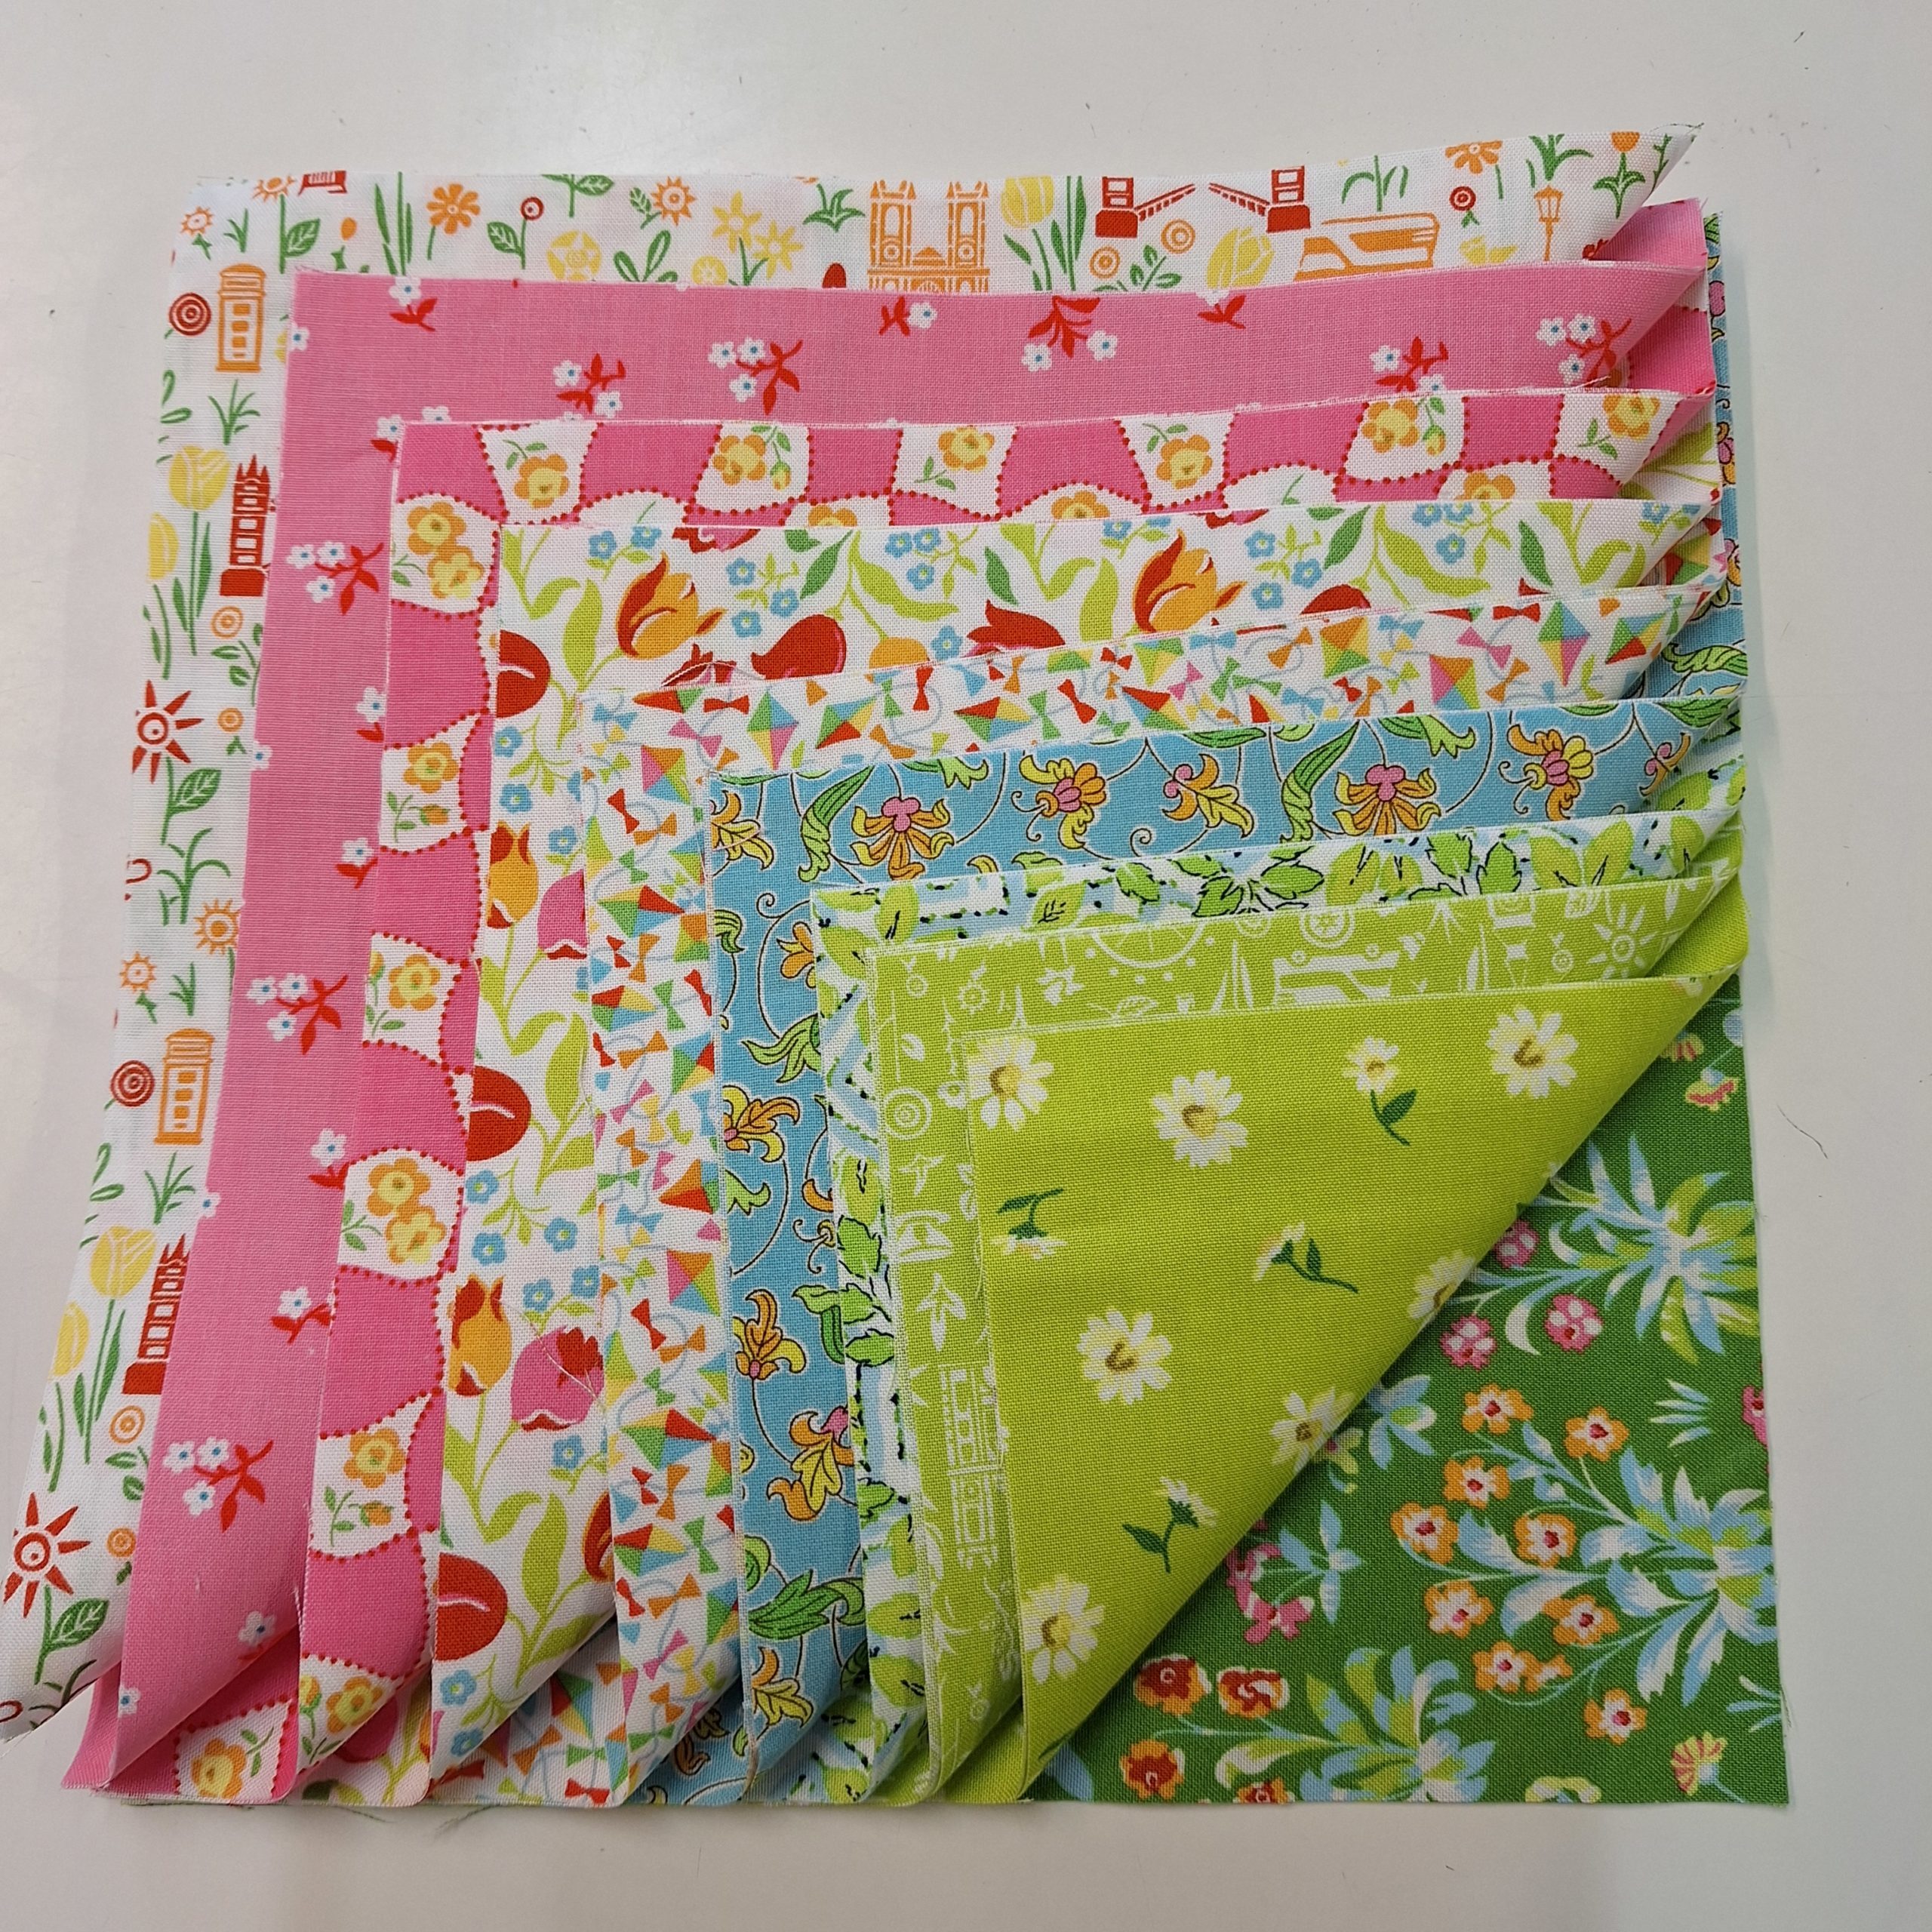
In this final part of the story Jennie reminds you that you can make the backing for the quilt from the rest of the Fat 1/4 fabric. She simply cut the fabric into large squares or smaller rectangles sewn together. Then she pieced them to make the back scrappy. This will work particularly well with the simple quilting she talks about later, as this will add interest to the back of your quilt.
You are reminded that the backing and wadding need to be bigger than the quilt project to allow for take-up in the quilting.
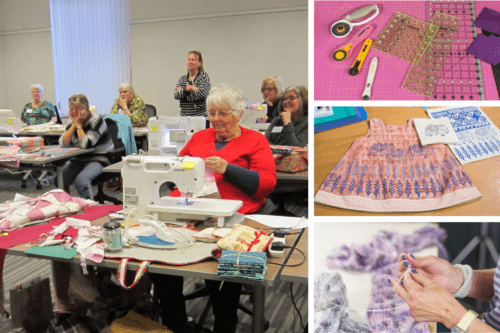
We have several workshops on how to layer up. Here is one from Valerie who guides you through her favourite method for layering up.
Jennie reminds you too that it is possible to join wadding so you don’t waste any scraps.
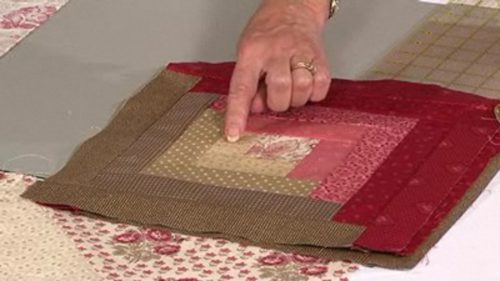
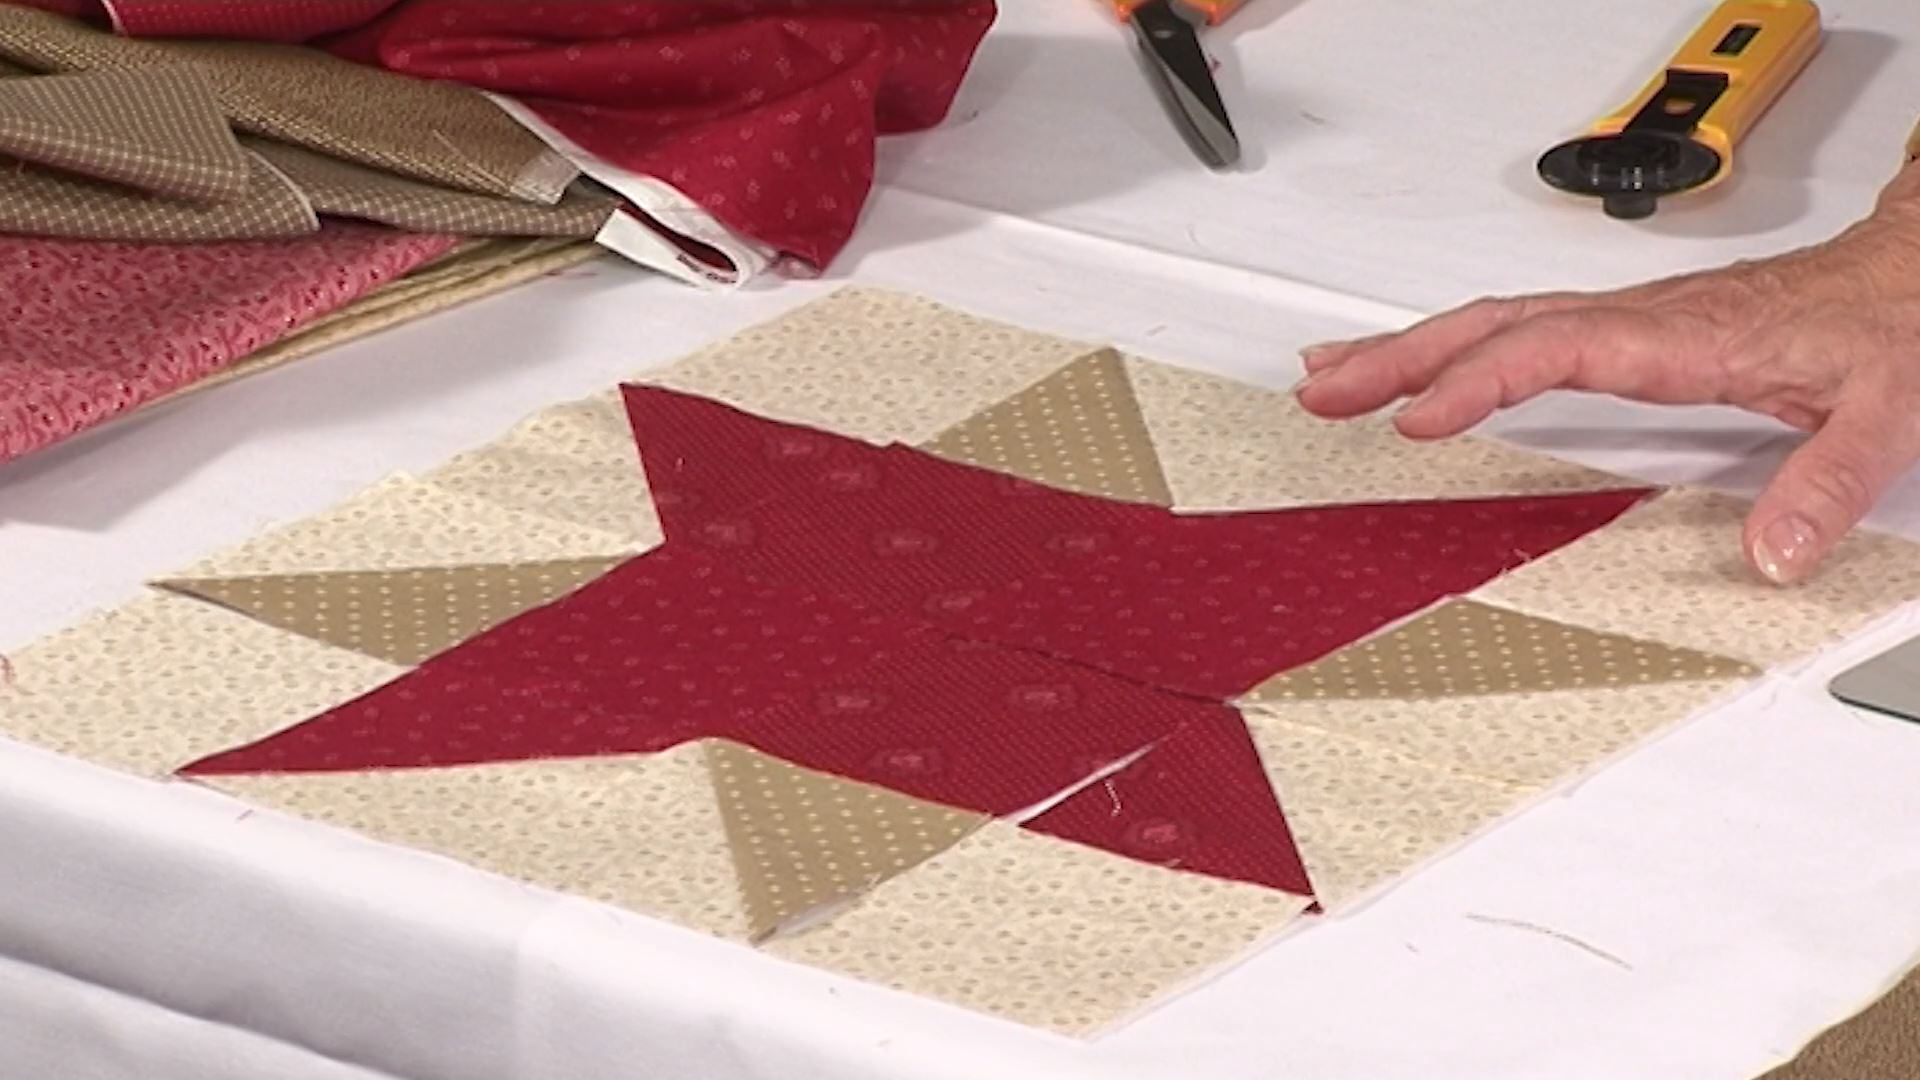
So now you are ready to do the quilting. Jennie makes suggestions for each of the rows. She suggests you keep it simple and follow the designs you have created with the fabric. This will work very well on the back too.
We hope you have enjoyed making this lovely Stripy Stripey Story Quilt and that it will give hours of pleasure not only being snuggled under, but having the story told.
Quick Links
binding | Block of the Month | classes with Jennie Rayment | Jennie Rayment | patchwork | quilting | quilting classes | quilting intermediate | quilting series | quilting tutorial | quilting video tutorial | tutorial with Jennie Rayment(You can use Quick Links, which are also on the left hand side of most pages, to find more content on specfic themes.)
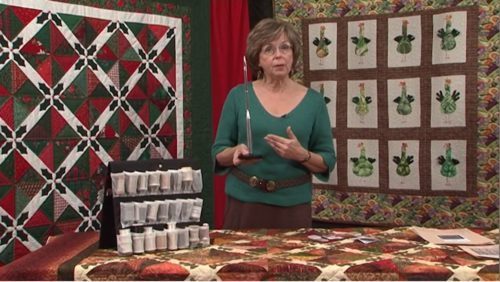
About the Tutor
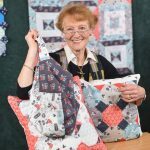
Jennie is a world renown quilt teacher, lecturer, author of nine quilt books and numerous patterns. From Houston to Qatar, Durban to Melbourne, Auckland and many other international cities, Jennie has wowed them all with her superb teaching style and hilarious lectures all laced with wit, charm and professional expertise.
Reviews
There are no reviews yet.