This is the final section for making the quilt top and what a great way to use up your scraps.
Adding Border and Scrappy Edging Jennie’s Stripy Stripey Story Quilt
£3.99
| Skill Level | |
|---|---|
| Tutor | |
| Supplier | Justhands-on.tv |
Description
Well, here we are putting on the borders, and yes there are two of them. Jennie decided that a single ‘stop’ border would work best before the scrappy one.
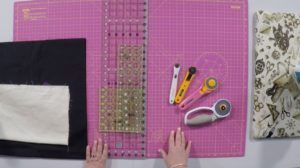
Jennie talks you through how to measure and not be a ‘lopper’ and how to make the delightful and useful scrappy border. The EZ template makes easy work of the cutting, but you do have this angle on your regular ruler, if you don’t want the expense of the template.
Do get in the habit of multilayer cutting though as this certainly speeds things up and you get not only lots of lovely accurate pieces, but you get to do the fun bit of sewing so much quicker.
Finally, Jennie has a little tip to give you about sorting out the corners, again useful for any quilt.
Click here for Finishing Jennie’s Stripy Stripey Story Quilt.


Reviews
There are no reviews yet.