Jennie`s Stripy Stripey Story Quilt
Jennie's Stripy Stripey Story Quilt Series • Educational, G, 01-Mar-2016
Get ready to take part in Jennie’s sew-a-row style quilt.
Jennie shares the ‘how to make’ each row with us.
Jennie will guide you through with clear instructions, a row at a time, that will take in lots of simple patchwork techniques, with and without rotary cutting templates, to create her lovely story quilt.
The techniques you will learn can then be used to make lots of quilts in the future!
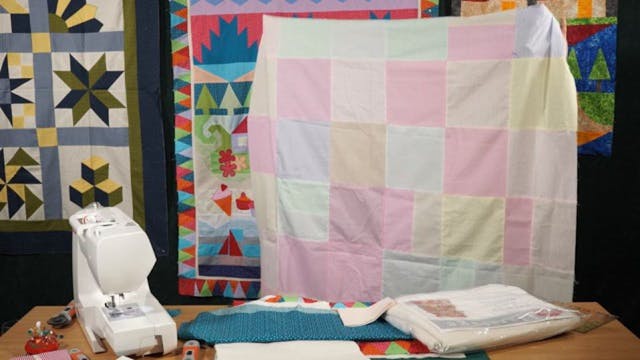
Raid your stash, or visit your local quilt shop or exhibition. You will need 36 Fat 1/4’s (metres of yards it doesn’t matter). This will give you enough fabric for the rows, the border, the backing and the binding – so very economical with no leftovers!
Part 1 is now available.
Click here to learn more about Jennie Rayment.
Up Next in Jennie's Stripy Stripey Story Quilt Series
-
Finishing Jennie`s Stripy Stripey Sto...
In this final part of the story Jennie reminds you that you can make the backing for the quilt from the rest of the Fat 1/4 fabric. She simply cut the fabric into large squares or smaller rectangles sewn together. Then she pieced them to make the back scrappy. This will work particularly well wit...
-
Adding Border and Scrappy Edging Jenn...
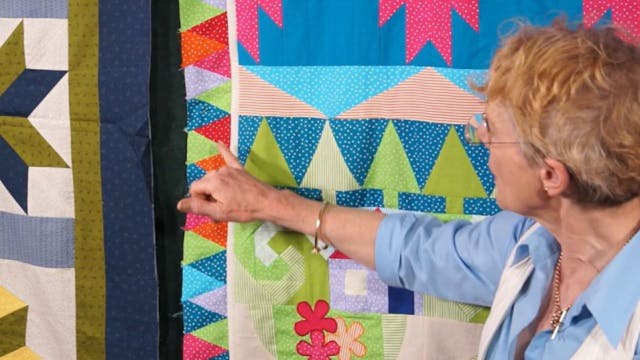
Well, here we are putting on the borders, and yes there are two of them. Jennie decided that a single ‘stop’ border would work best before the scrappy one.
Jennie talks you through how to measure and not be a ‘lopper’ and how to make the delightful and useful scrappy border. The EZ template makes... -
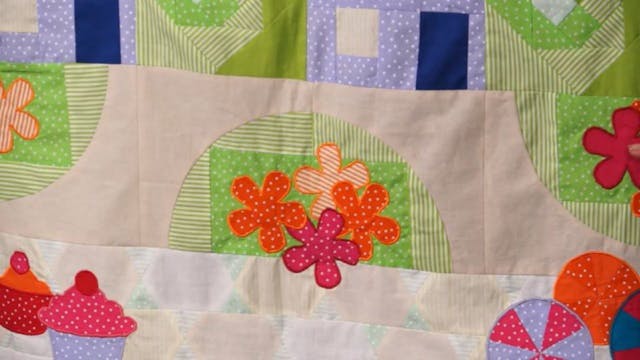
Adding Applique to Jennie`s Stripy St...
To begin with Jennie gives you some help on the sewing sequence for your rows. She takes you through how to add your applique motives.
In the case of the beach ball you need to cut out and create the segments of the ball. Jennie uses the 45 degree triangle template for this. As these are made wit...